Set up a raw printer on macOS
Follow these steps to add a label or receipt printer to your Mac. This setup sends commands straight to the printer, using a connection called a raw queue.
Before you start
- Turn on your printer and connect it by USB or to the same network as your Mac.
- For a network printer, find its hostname or IP address in the printer's network settings or setup guide.
- Have your Mac administrator username and password ready.
Your printer needs to support raw printing, such as ZPL or ESC/POS. Check its manual if you're unsure.
1. Open printer setup
You'll use CUPS, the printer settings built into your Mac.
Open Terminal using Spotlight (Command + Space), then run:
sudo cupsctl WebInterface=yesEnter your Mac password when asked. You won't see the password as you type.
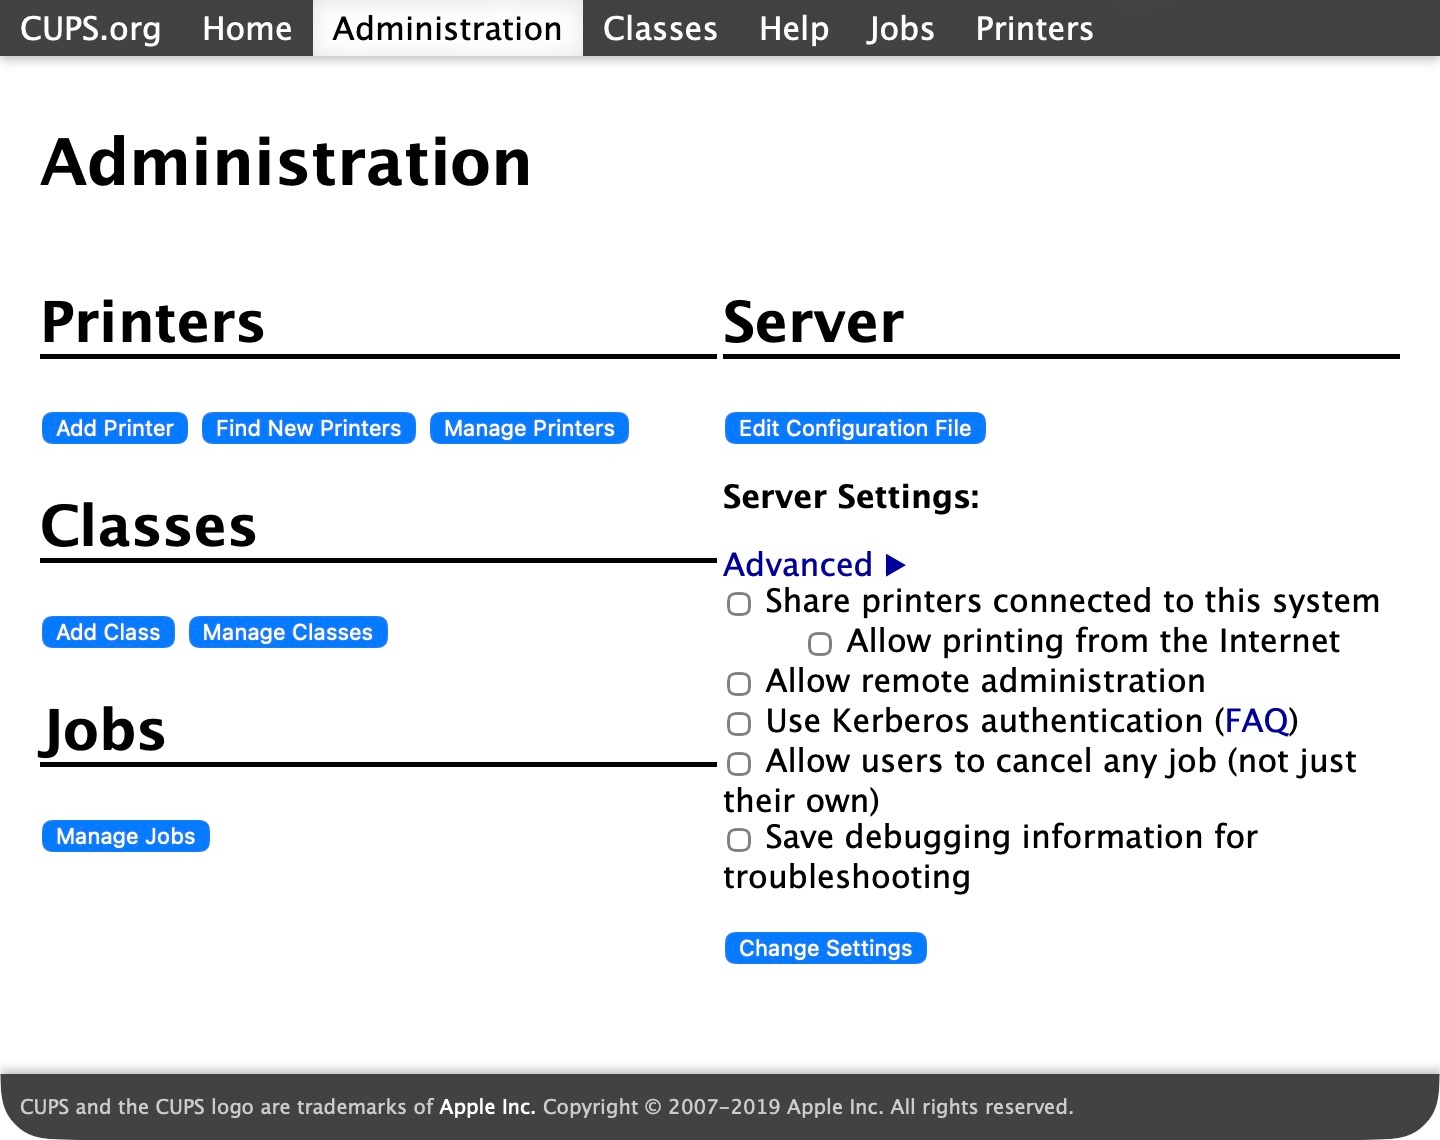
Open http://localhost:631 (opens in a new tab) in your browser. Choose Administration, then Add Printer. Sign in with your Mac administrator account if asked.
2. Choose the connection
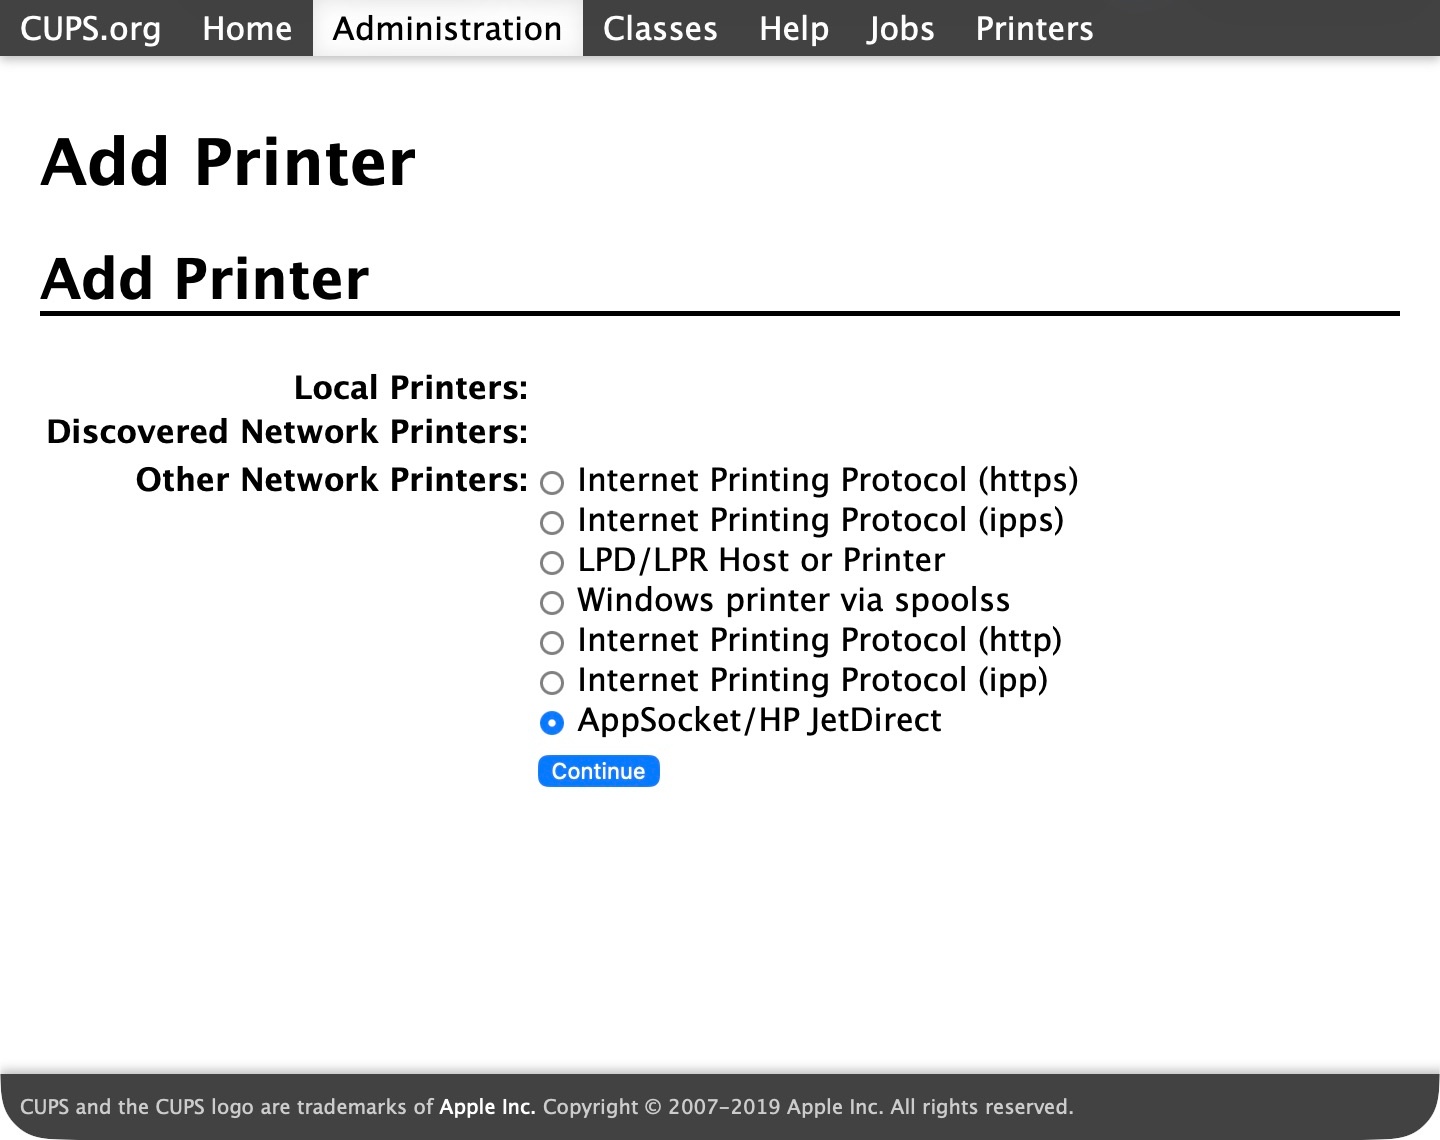
Select AppSocket/HP JetDirect, then Continue. Choose this option for both network and USB printers.
Network printer
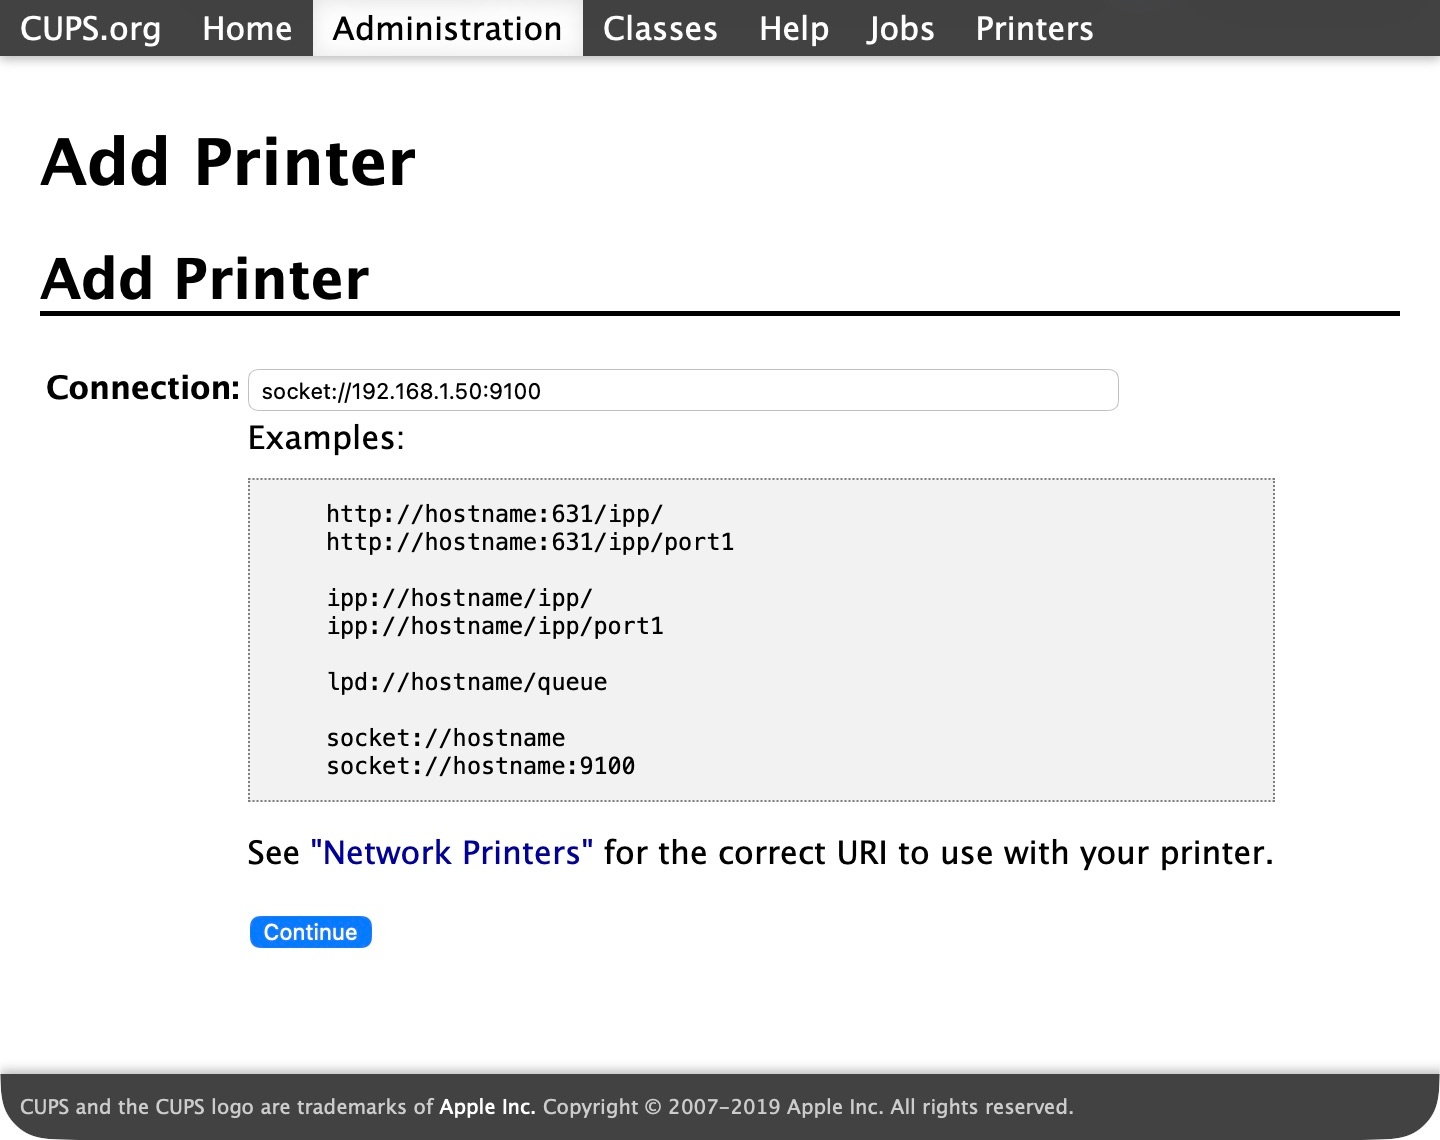
Enter your printer's hostname or IP address. You can usually find this in its network settings or setup guide.
If your printer provides a hostname, use it—for example, socket://label-printer.local:9100. Otherwise, use its IP address, as shown below:
socket://192.168.1.50:9100Replace 192.168.1.50 with your printer's IP address. Keep :9100 unless your printer's manual specifies a different port.
If you use an IP address, ask whoever manages your network to make sure it stays the same.
USB printer
In Terminal, run:
lpinfo -v | grep 'usb://'Copy your printer's address, starting with usb://, into Connection. For example:
usb://Zebra/LP2844Use the address from your own Mac, not the example above.
Click Continue.
3. Name your printer
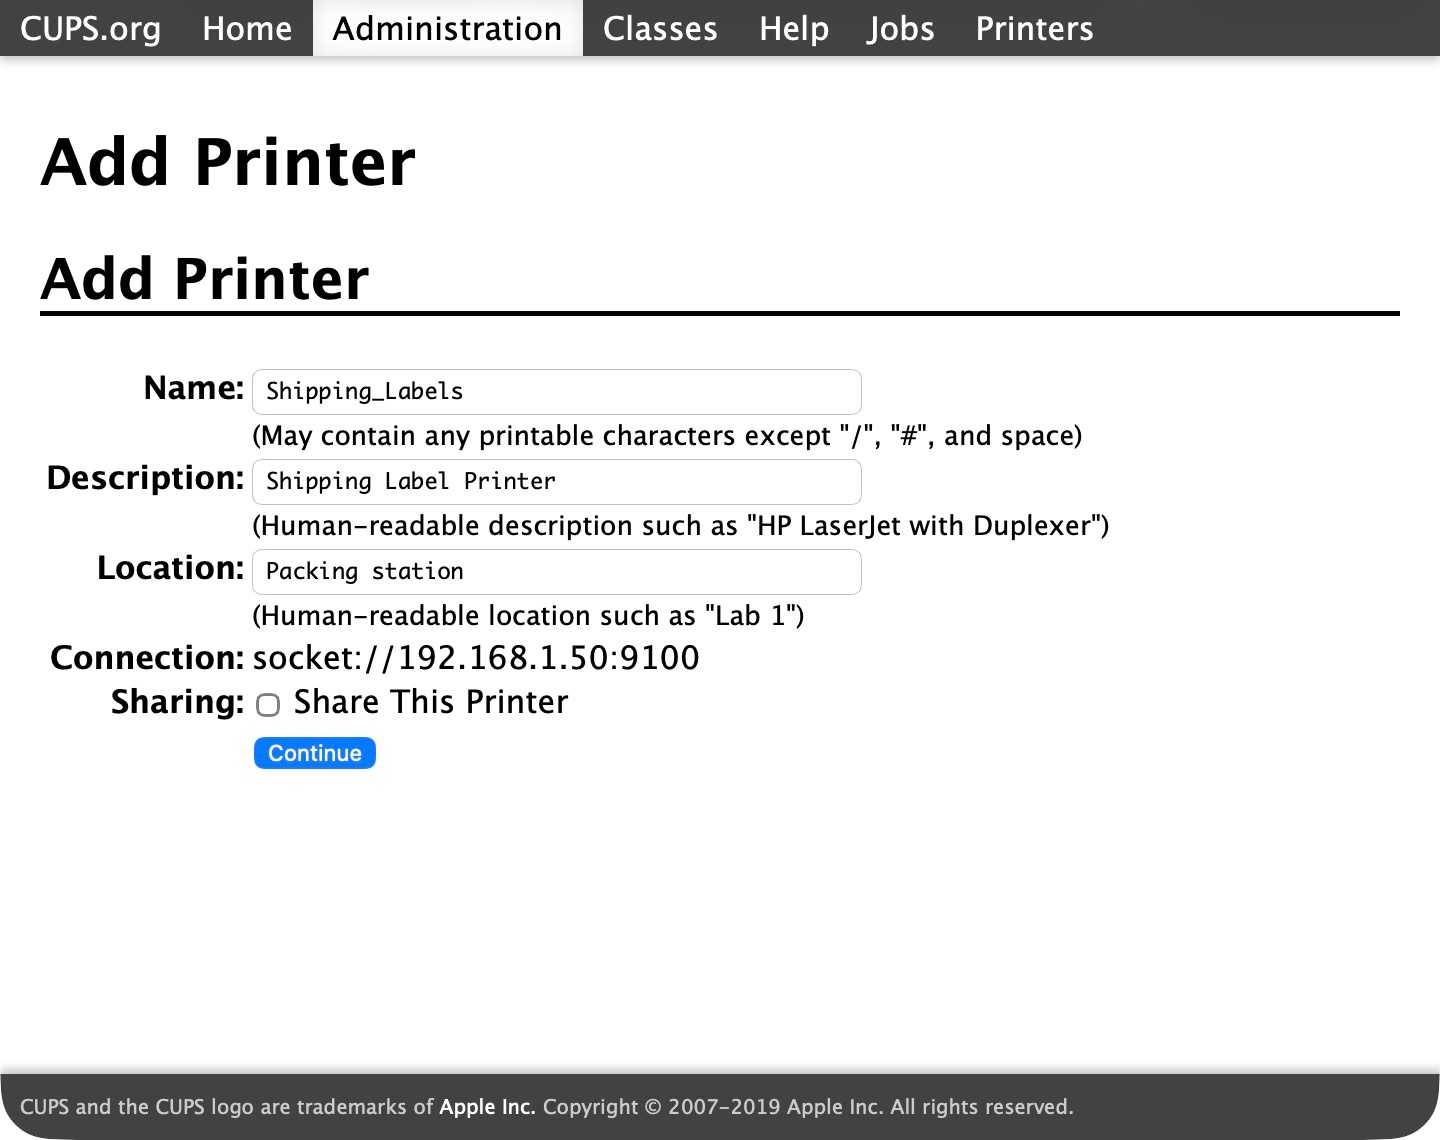
Give the printer a name you'll recognise:
| Field | Example |
|---|---|
| Name | Shipping_Labels |
| Description | Shipping Label Printer |
| Location | Packing station |
Don't use spaces in Name. Leave Share This Printer unchecked, then click Continue.
4. Choose Raw
Choose Raw in the Make list, then click Continue.
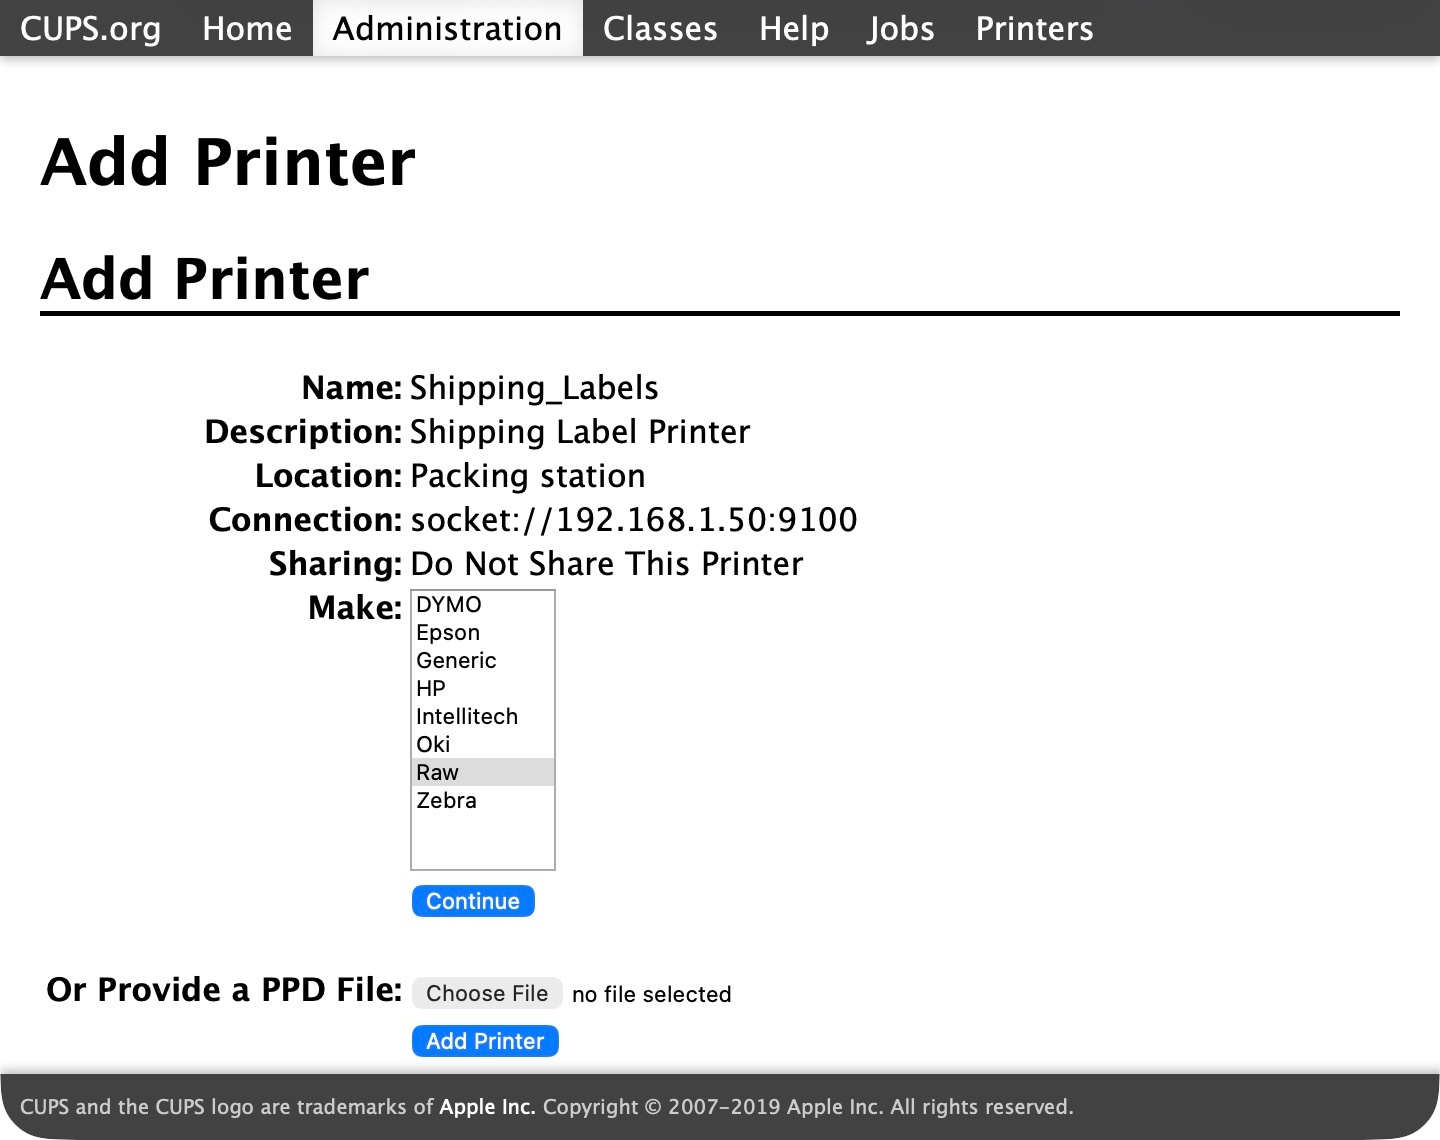
Select Raw Queue (en) in the Model list and click Add Printer.
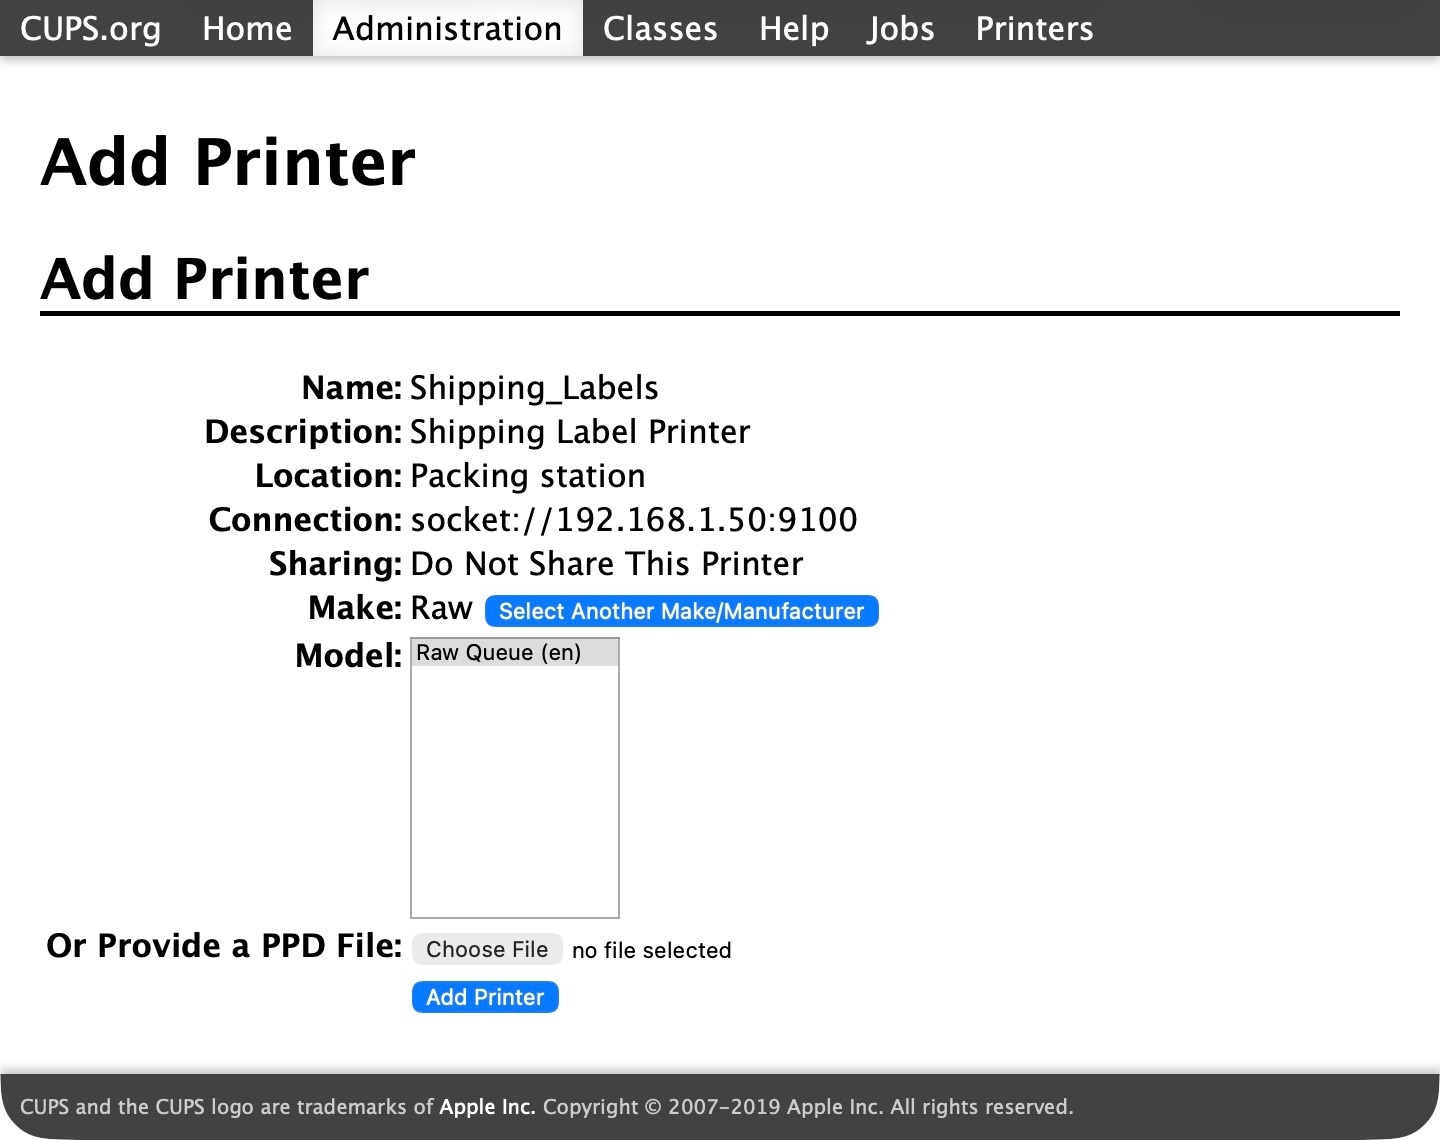
If Raw isn't listed, check your printer manufacturer's setup instructions.
5. Save the settings
Set Starting Banner and Ending Banner to none, then click Set Default Options. This prevents extra pages being added to print jobs.
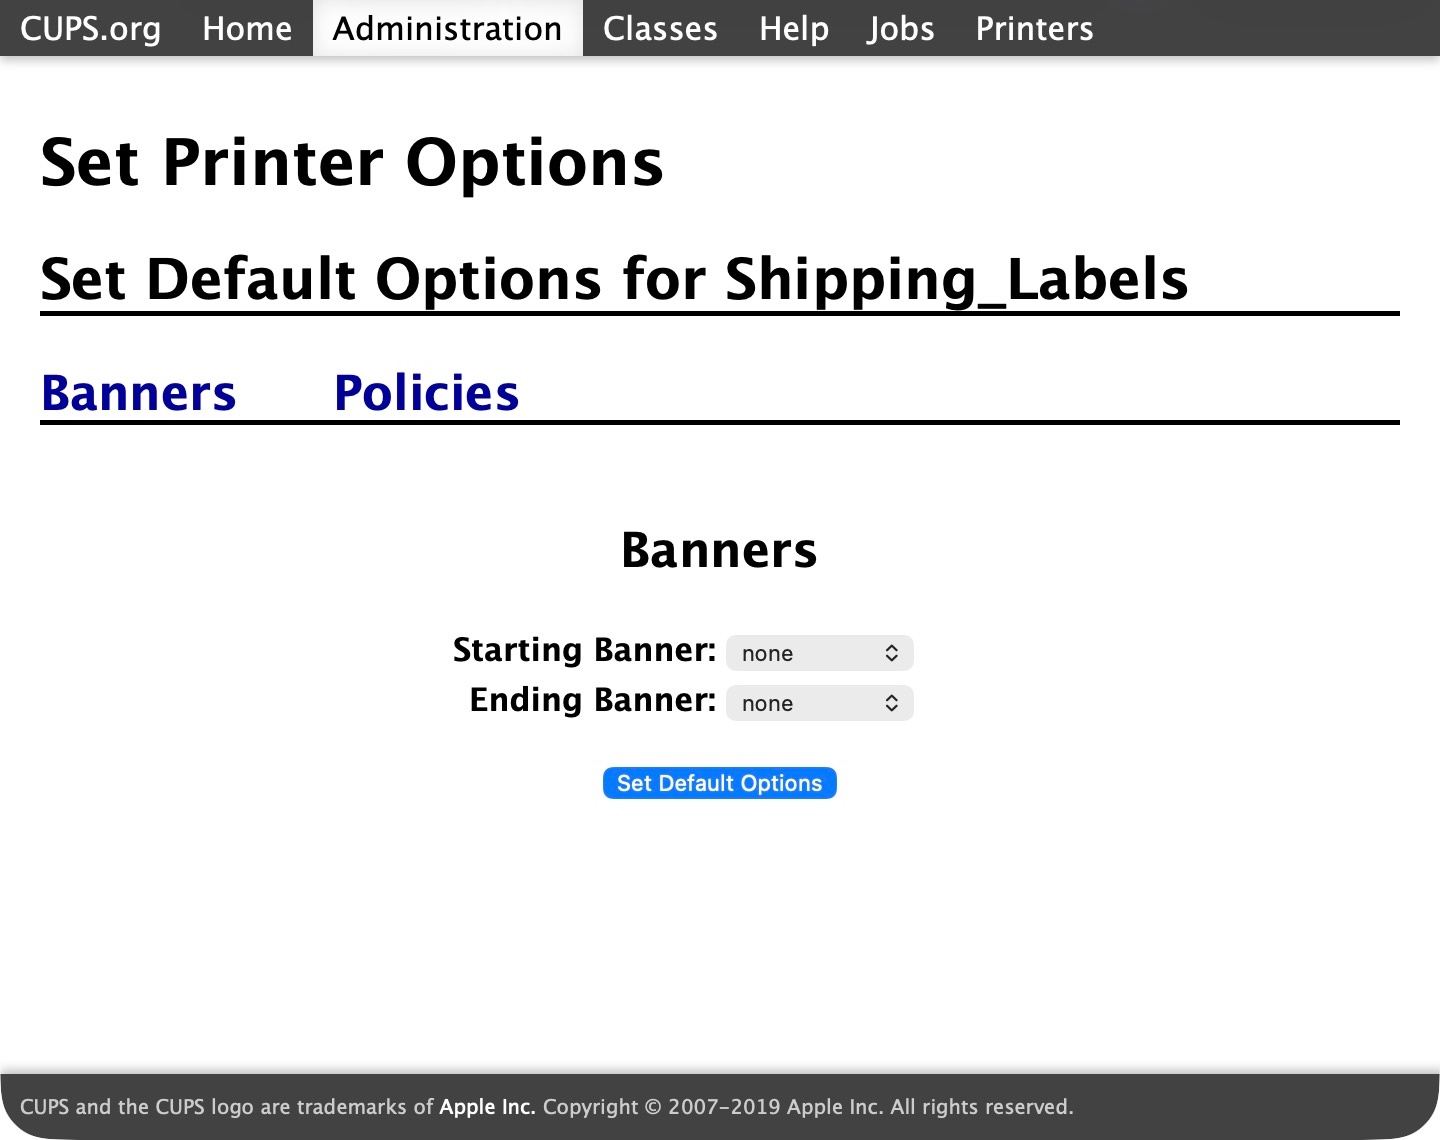
Your printer is added. Its page should show Idle, Accepting Jobs, Not Shared.
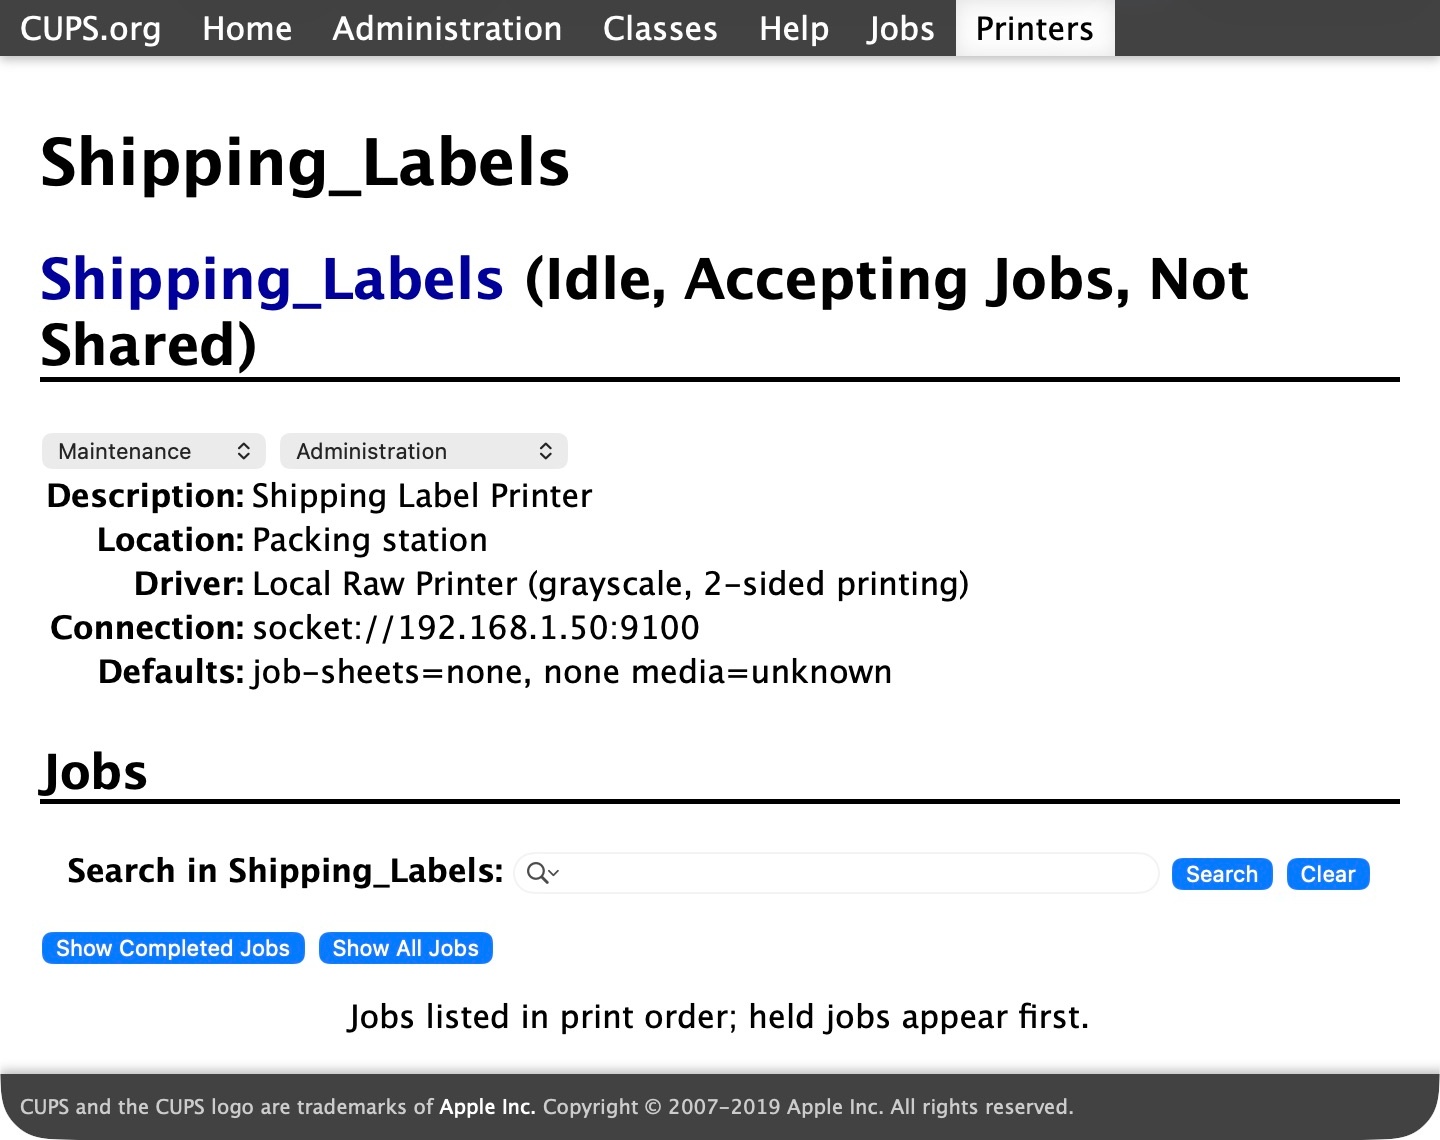
Optional: add a printer class
If your printer doesn't appear in System Settings > Printers & Scanners, you can add a printer class. This gives you another way to find the printer and view its jobs.
- In CUPS, choose Administration > Add Class.
- Give the class a different name, such as
Shipping_Labels_Class. Add a description and location to help you recognise it. - In Members, select
Shipping_Labels, then click Add Class. - Open System Settings > Printers & Scanners to find the class and view its print queue.
Your printer will still work if you skip this step.