Creating data
To populate the list of products, we need a way to create new records. Adding a create action will generate a page with a form.
model Product {
    fields {
        name Text
        description Text?
        imageUrl Text?
    }

    actions {
        list listProducts()
        create createProduct() with (name, description?, imageUrl?)
    }

    @permission(
        expression: ctx.isAuthenticated,
        actions: [list, create]
    )
}
This will also create a create button in the console to create products from your List products tool.

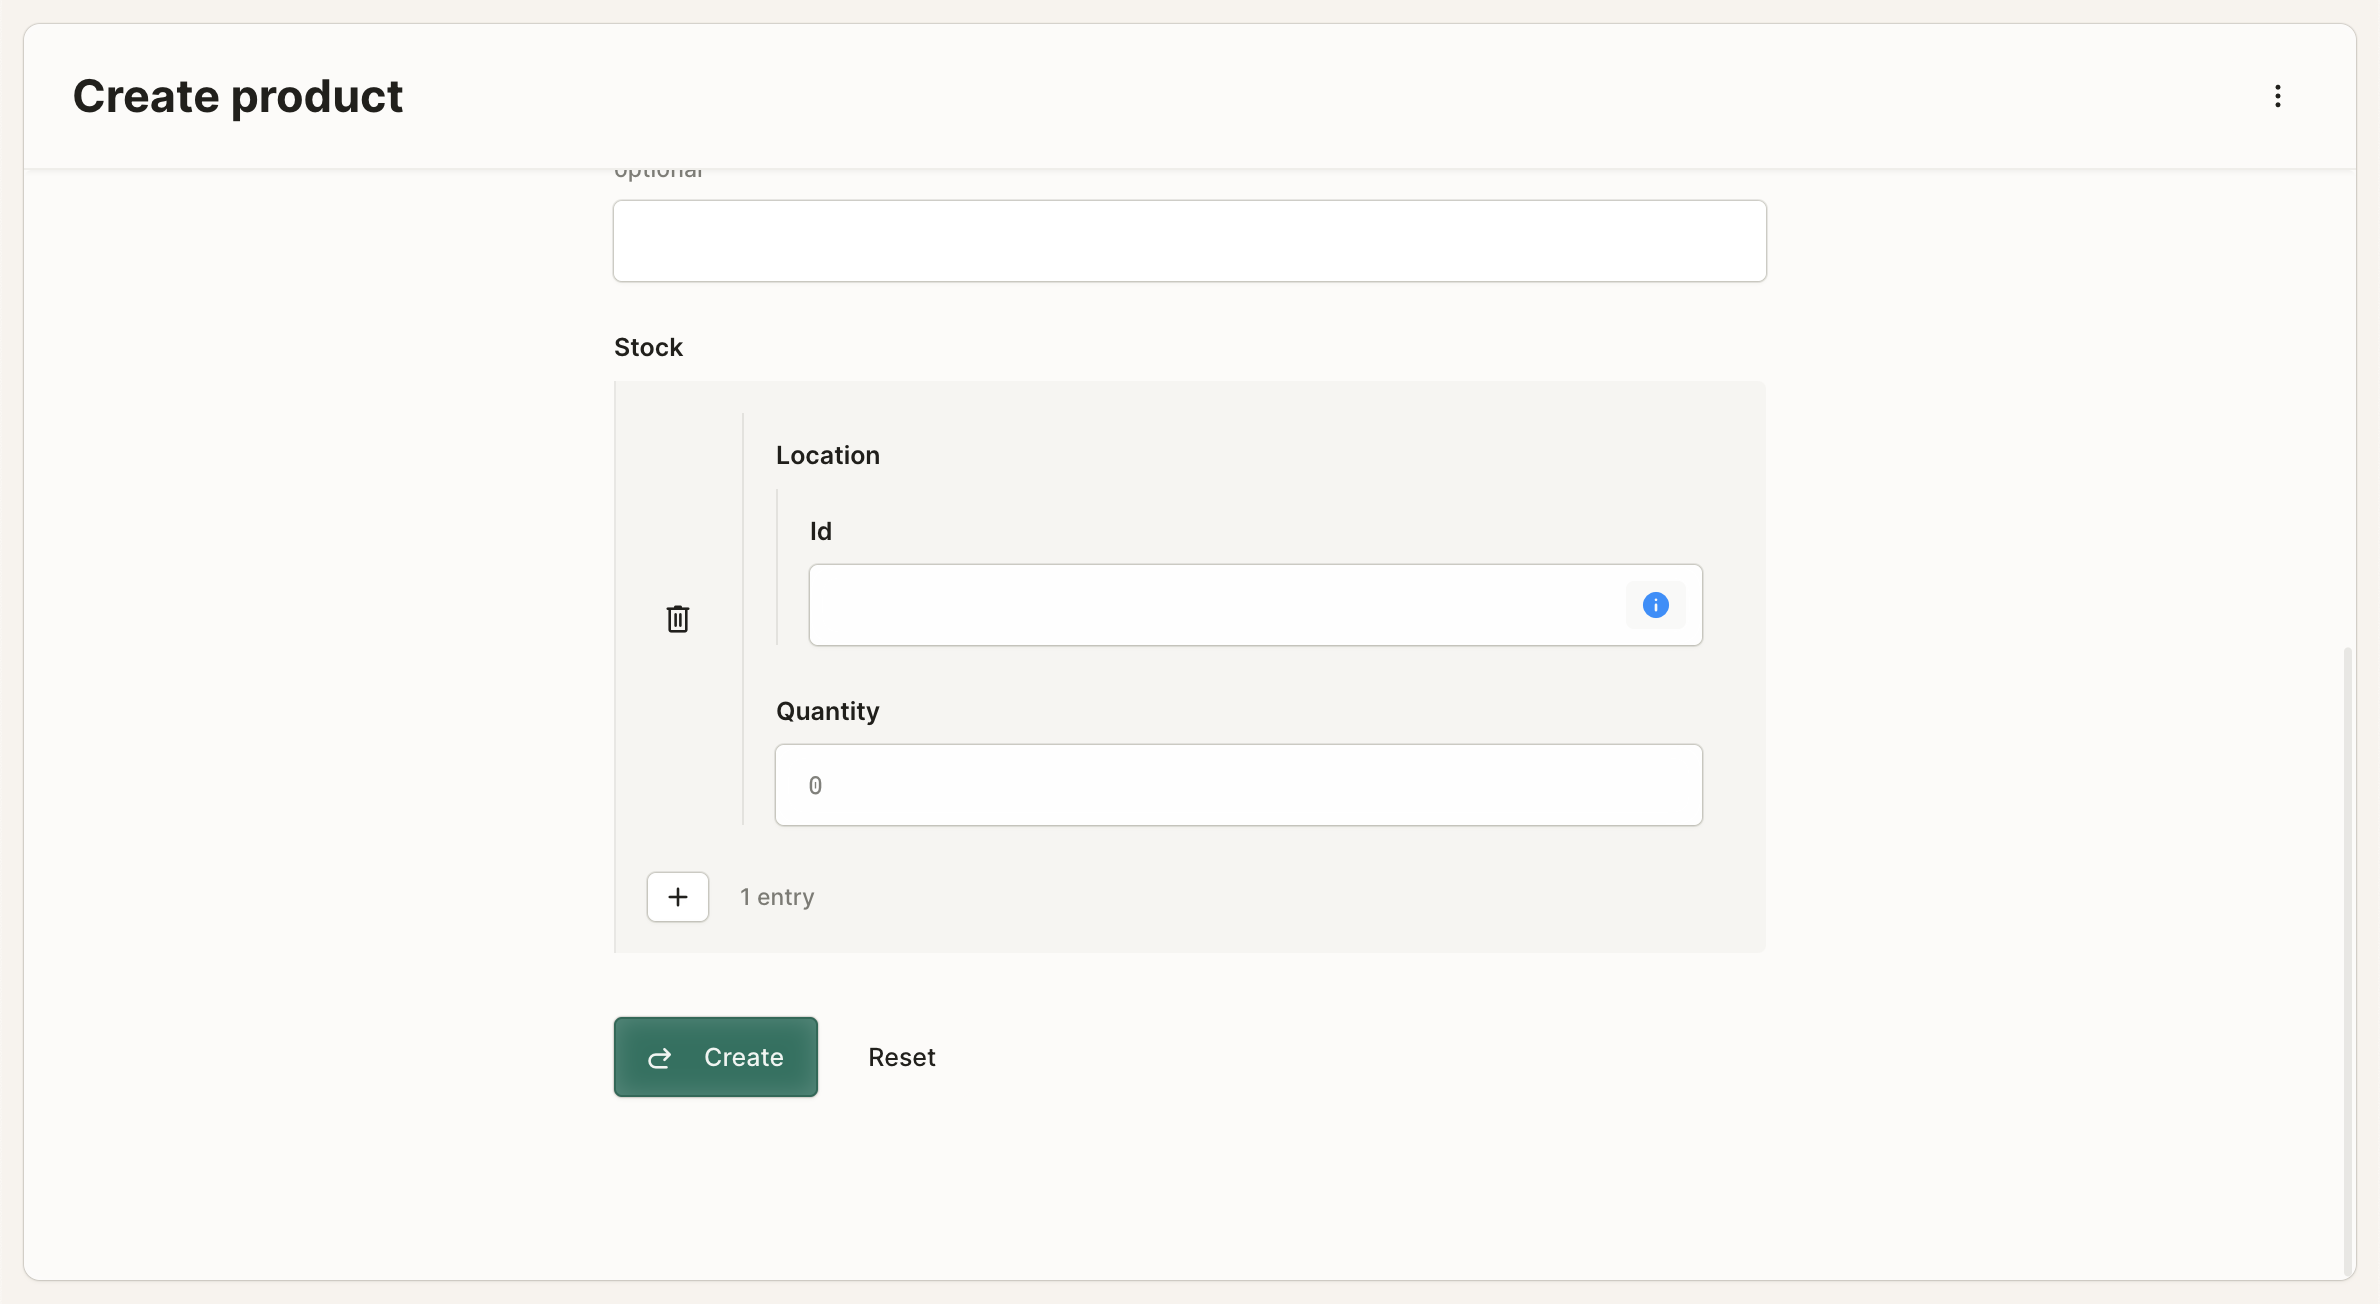
Nested records
When we create a product, we might want to add new stock items using the same form. Since StockItem relates to the Product model we can use dot notation on action inputs to do this.
model Product {
    fields {
        name Text
        description Text?
        imageUrl Text?
        stock StockItem[]
    }

    actions {
        list listProducts()
        create createProduct() with (name, description?, imageUrl?, stock.quantity, stock.location.id)
    }

    @permission(
        expression: ctx.isAuthenticated,
        actions: [list, create]
    )
}

model StockItem {
    fields {
        product Product
        quantity Number
        location StockLocation
    }
}

model StockLocation {
    fields {
        name Text @unique
        items StockItem[]
    }
}
When we deploy that schema, we can see our autogenerated form update to include the fields for quantity and location as nested inputs.
Looking up records
We likely won't know the id of the stock.location record when filling out the form. To help with that, we can create an action that lets you look it up instead. Since the location field relates to StockLocation, we can add a list action to StockLocation.
model Product {
    fields {
        name Text
        description Text?
        imageUrl Text?
        stock StockItem[]
    }

    actions {
        list listProducts()
        create createProduct() with (name, description?, imageUrl?, stock.quantity, stock.location.id)
    }

    @permission(
        expression: ctx.isAuthenticated,
        actions: [list, create]
    )
}

model StockItem {
    fields {
        product Product
        quantity Number
        location StockLocation
    }
}

model StockLocation {
    fields {
        name Text @unique
        items StockItem[]
    }
    actions {
        list listStockLocations()
    }
    @permission(
        expression: ctx.isAuthenticated,
        actions: [list]
    )
}
Now, our form will automatically update to show a lookup to select a location instead of a text input.
Create stock locations
We will probably create stock locations independently from creating products, e.g. when you are setting up your warehouse. Let's generate that tool to do that in the same way as we did to create a product.
// Full schema truncated for brevity

model StockLocation {
    fields {
        name @unique
    }
    actions {
        ...
        create createStockLocation() with (name)
    }
    @permission(
        expression: ctx.isAuthenticated,
        actions: [..., create]
    )
}
Create stock items
When you want to re-stock an existing product, you want to create a new stock item and relate it to a product and a location. We can generate a tool to do this by augmenting the schema for StockItem as follows:
// Full schema truncated for brevity

model StockItem {
    fields {
        quantity Number
        product Product
        location StockLocation
    }
    actions {
        create createStockItem() with (quantity, product.id, location.id)
    }
    @permission(
        expression: ctx.isAuthenticated,
        actions: [create]
    )
}
Schema
Now, we've got all the tools we need to create products, stock locations and stock items for our business with zero frontend or backend code required outside of a single Keel schema. Here's the full schema that enables this:
model Product {
    fields {
        name Text
        description Text?
        imageUrl Text?
        stock StockItem[]
    }
    actions {
        list listProducts()
        create createProduct() with (name, description?, imageUrl?, stock.quantity, stock.location.id)
    }
    @permission(
        expression: ctx.isAuthenticated,
        actions: [list, create]
    )
}

model StockItem {
    fields {
        product Product
        quantity Number
        location StockLocation
    }
    actions {
        create createStockItem() with (quantity, product.id, location.id)
    }
    @permission(
        expression: ctx.isAuthenticated,
        actions: [create]
    )
}

model StockLocation {
    fields {
        name Text @unique
        items StockItem[]
    }
    actions {
        list listStockLocations()
        create createStockLocation() with (name)
    }
    @permission(
        expression: ctx.isAuthenticated,
        actions: [list, create]
    )
}
Now's a good time to seed our database with some data to play with in terms of products, stock locations, and stock items. Once we've added a bunch of data using the generated tools, we can then go back to our list view that we created earlier to see the data we've created.
Fantastic! At this point, we have a partially functional inventory management system with zero code: we can list data and insert data, but we're not done yet—we cannot work with single records of data, nor can we modify data. Let's fill in those gaps starting with single records.