Tutorial
This tutorial will walk you through the basics of Keel by building a backend for a Todo app.
We'll cover modelling your data, creating an API with authentication and permissions, writing some custom code and then finally we'll connect it all up to a front end. All in less than 30 mins - let's go!
Setup
You'll need a couple of things to follow along
- A GitHub account
- VS Code
- A git client (e.g command line, GitHub Desktop, VS Code Git)
To start, create a new project on Keel by going to console.keel.so (opens in a new tab) and selecting the example project which is the starting point for our todo backend.
Cloning the repo
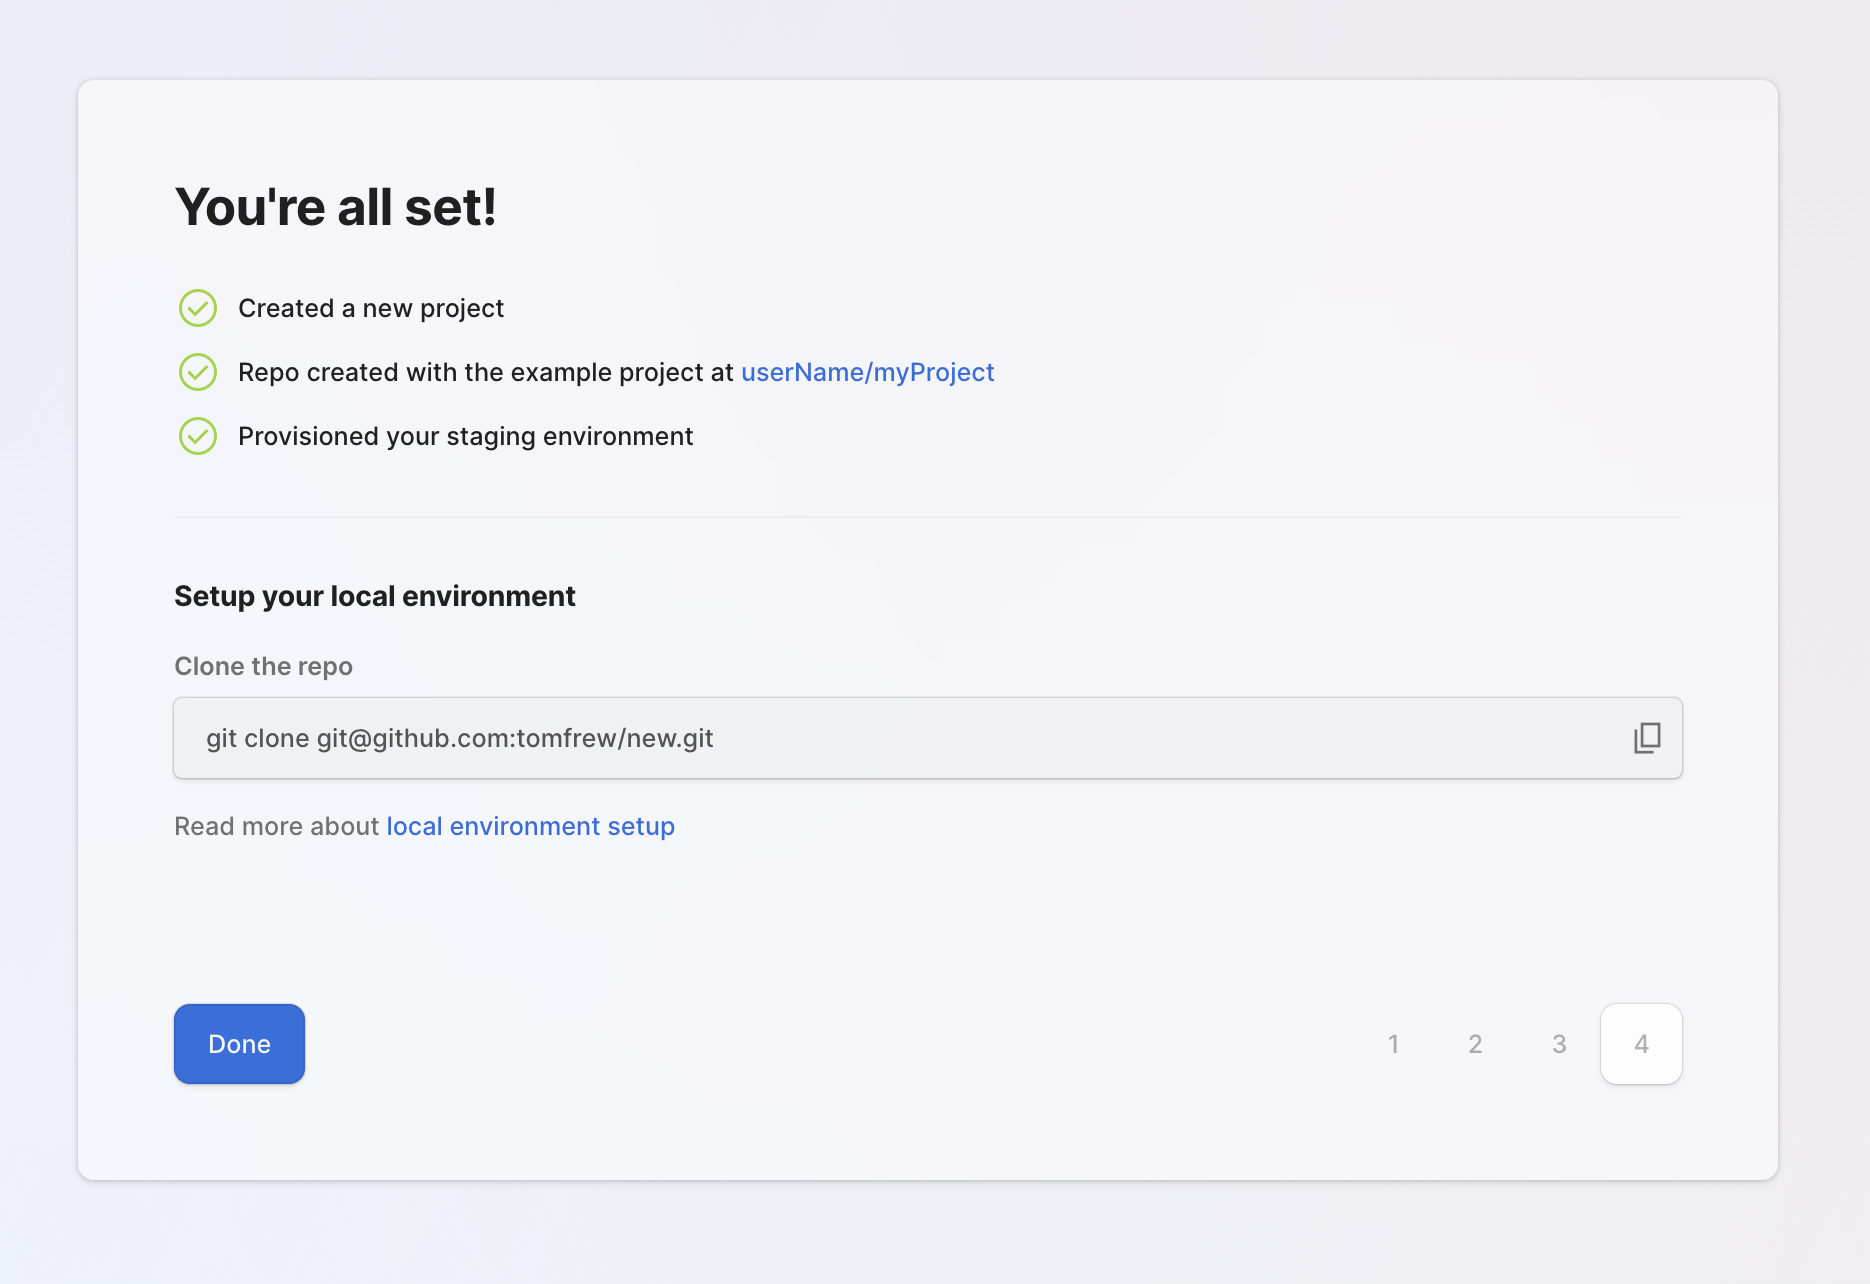
Once you reach the final step of the onboading you should see the git URL of your new repo. The next step is to clone the repo to your local machine and install the VSCode extension.
Copy the command directly from the final step of the project setup e.g.
git clone git@github.com/{yourUsername}/{projectName}Installing VS Code extension
The Keel VS Code extension provides sytax highlighting and inline validation of Keel schema files. You can install it by going to the Extensions tab in VSCode and searching for Keel.
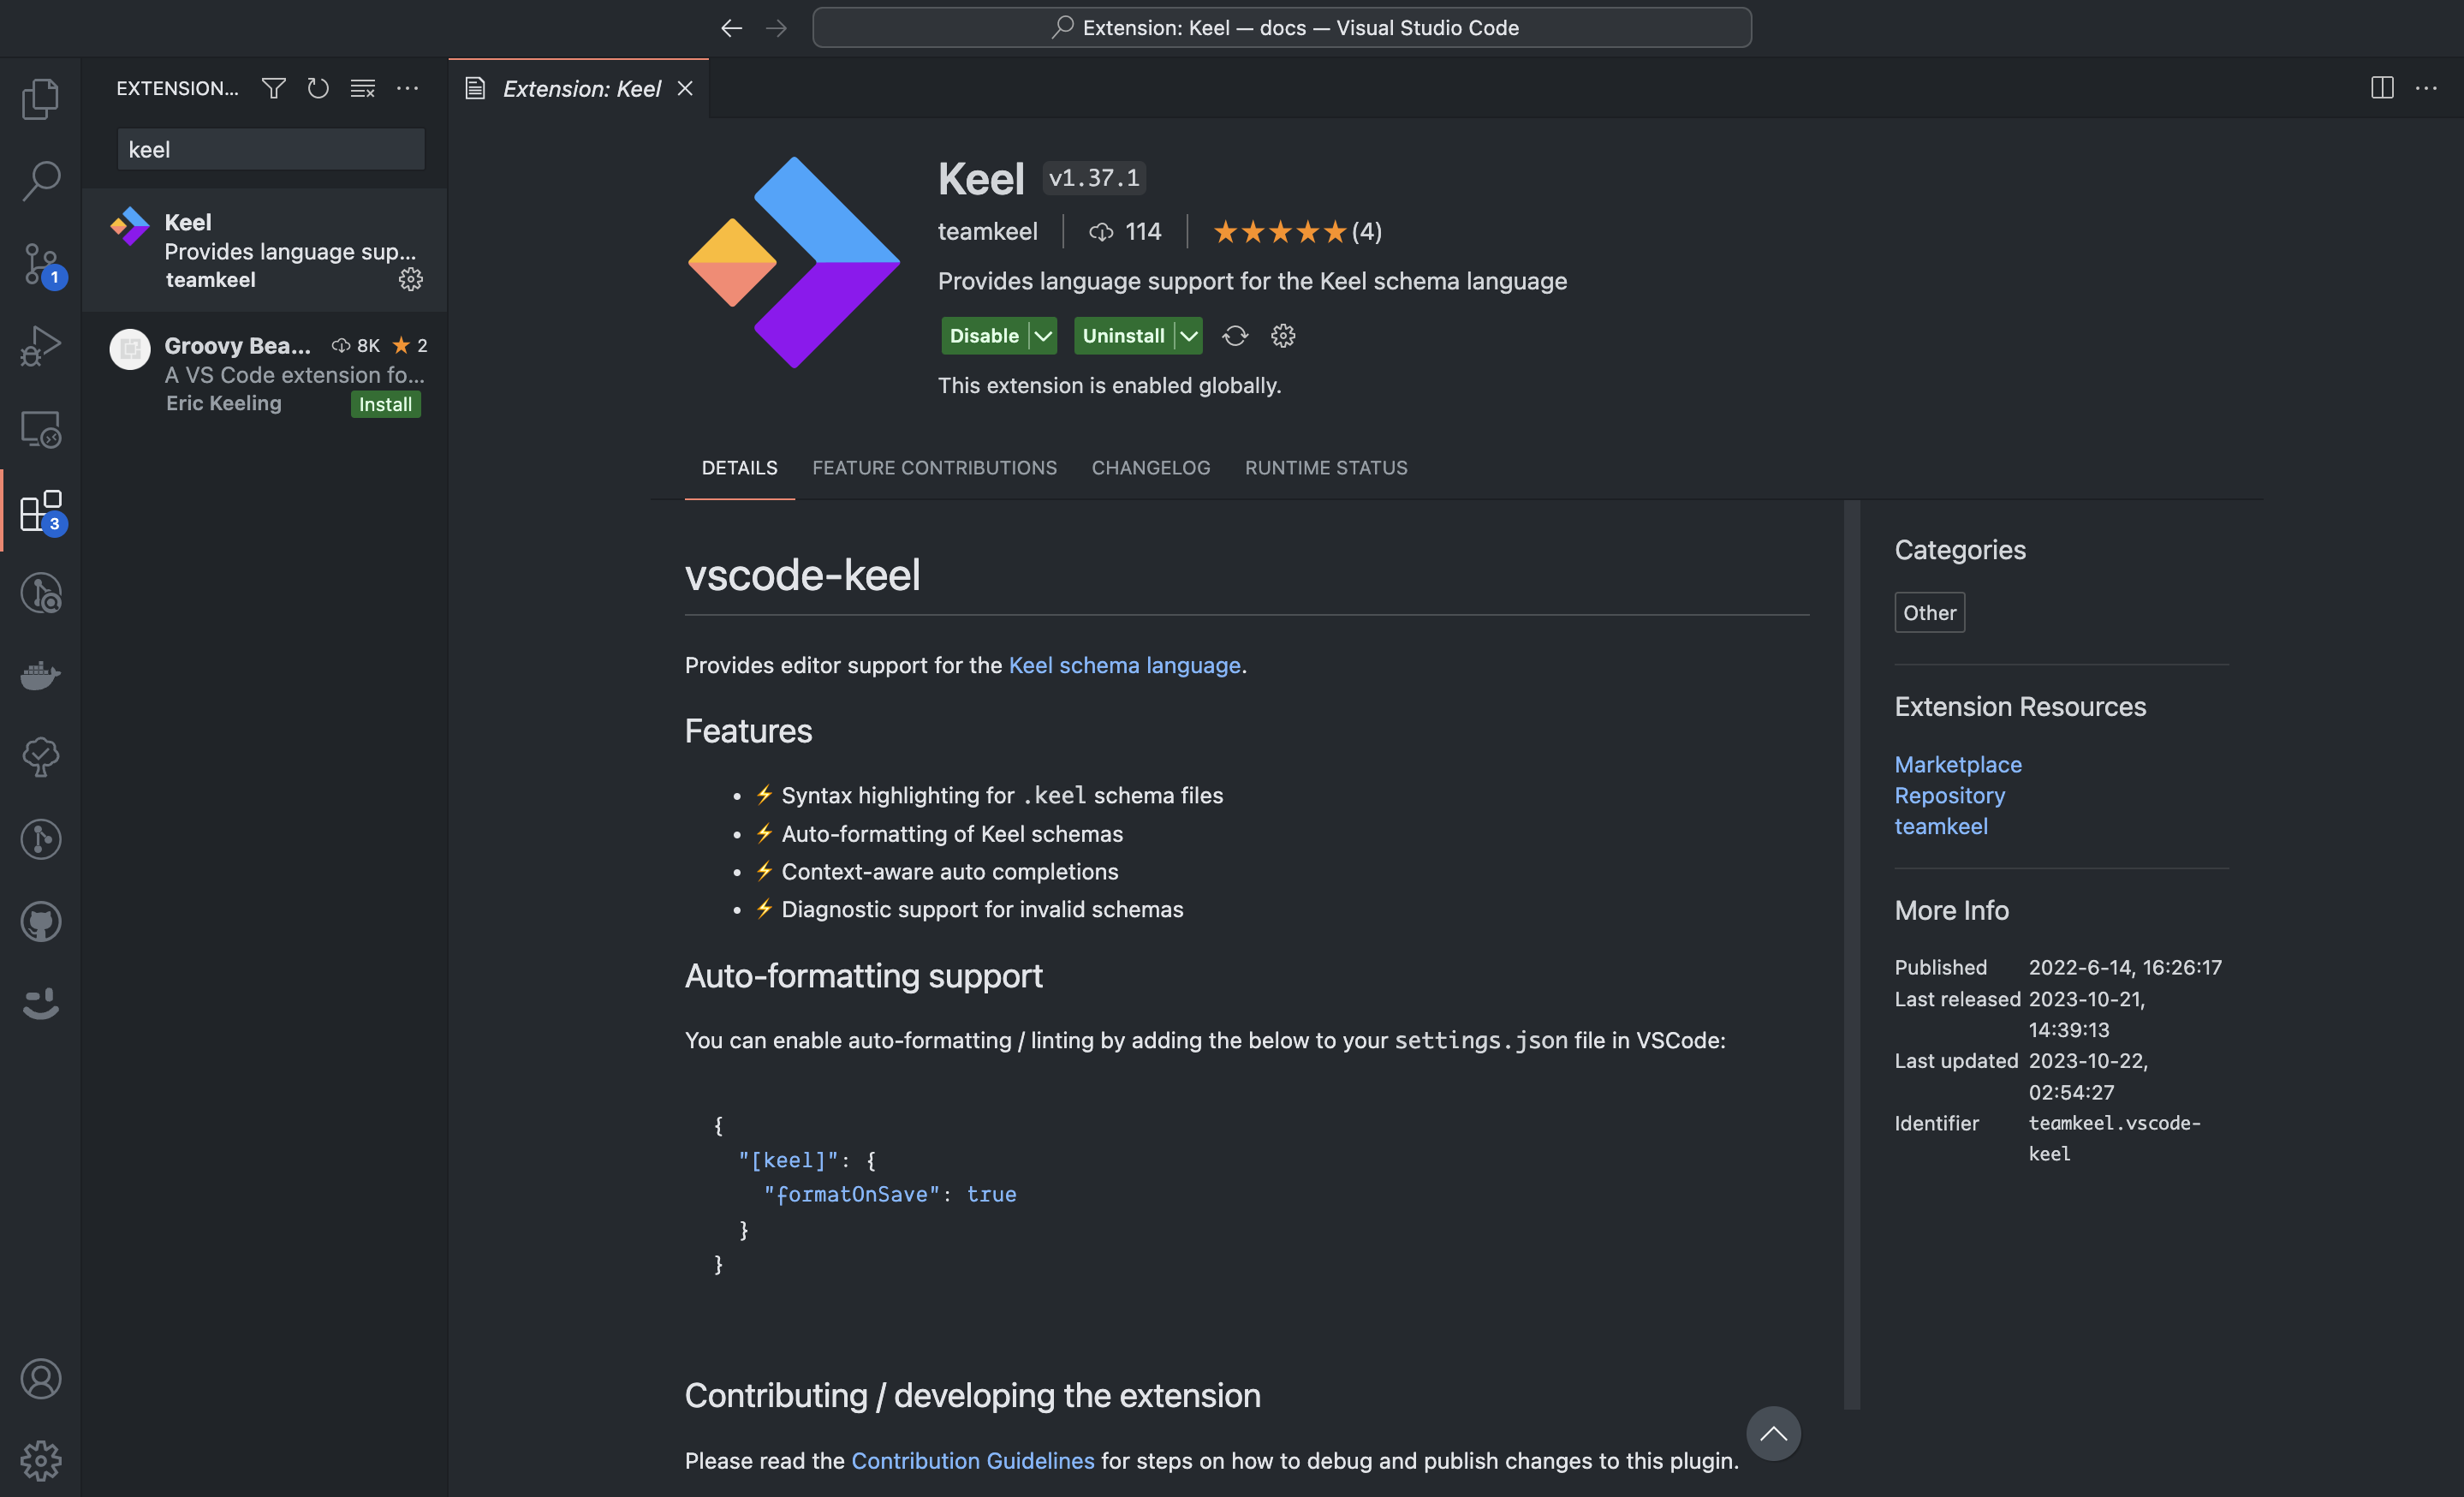
The extension only works in the app version of VS Code and not in a browser.
Review
Once you've got the project set up locally you'll see two things in the project:
- A
schema.keelfile - A
functionsdirectory
We'll start by looking at the schema.
The Keel schema
A Keel schema is the blueprint for your backend. It describes your data models, actions that can be taken on those models, permission rules that specify who is allowed to perform those actions, and how they get exposed as APIs.
Let's walk through schema.keel
Open up the project in VS Code and have this tutorial open in a window beside it. This will give you the best experience for the next bit as we walk through the schema.
Models & fields
A Keel app is all built around your data, and you describe your data using models. To start with we have a model called Todo with a selection of fields:
model Todo {
    fields {
        title Text
        complete Boolean @default(false)
        description Text?
        completedAt Timestamp?
        owner Identity
        project Project?
    }
}
Fields are the information we store for that model and are defined with a name and a field type. The ? on the type indicates that this value can be null. The owner and project fields have another model name as their type which indicates that these are relationships to another model which we'll come back to in a bit.
Built-in fields
All models have id, createdAt, and updatedAt fields that are always present. You can think of them as if they were defined in every model like this:
model Todo {
    fields {
        id ID # a unique id for a record
        createdAt Timestamp # The time a record was created
        updatedAt Timestamp # The time a record was last updated
    }
}You can learn more about how to model data in a Keel schema here
Actions
There are two types of Actions that can be defined on a model; built-in actions are automatically generated by Keel, whereas functions are written by you, in code.
model Todo {
    actions {
        get todo(id)
        list allTodos(complete?, project.id?) {
            @where(todo.owner == ctx.identity)
        }
        delete deleteTodo(id)
        update updateTodo(id) with (title?, description?, project.id?)
        create createTodo() with (title, description?, project.id?) {
            @set(todo.owner.id = ctx.identity.id)
        }
        update setCompletion(id) with (complete) @function
    }
}
This tutorial doesn't cover functions, but you can read more about them in the Function docs.
A key thing to note here is that Keel doesn't automatically generate CRUD actions for models. All actions are explicitly defined in your schema, which gives you full control in designing your APIs.
All actions have an action type (e.g. get list etc), a name and a set of inputs. The first set of parenthesis are the read inputs (used to filter the results), and if the operation is a write operation, a second set of parenthesis after the with keyword defines the write inputs (used to update or create records).
Permissions
The Todo model also defines some permission rules. These rules are defined using the @permission attribute and describe who has permission to perform actions. Keel APIs are secure-by-default, and you have to explicitly define permission rules in your schema.
model Todo {
	actions {
        create createTodo() with (title, description?, project.id?) {
            @permission(expression: ctx.isAuthenticated)
            @set(todo.owner.id = ctx.identity.id)
        }
    }

    @permission(
        actions: [get, list, update, delete],
        expression: todo.owner == ctx.identity
    )
}
Permissions can be defined inside a model or an action, and can use a logical expression or a role (roles are not covered in this tutorial). If you use an expression it is evaluated for each row on which the action acts, and if it evaluates to true for every row then the user is allowed to perform the action, otherwise they are not.
If the @permission attribute is used directly inside a model then you must say which actions type it applies to, if defined inside an action this argument should not be provided.
While more than one @permission can be defined on a model and its actions, only one needs to be satisfied in order to allow access to an action.
For the Todo model we have two permissions rules:
- Any
get,list,updateanddeleteactions can only be performed if thectx.identity(which is the identity of the current authenticated user) must match the value stored in theownerfield of the entry - The
createTodooperation can be performed by anyone as long as they are logged in
You can find out more about permissions in the Permissions docs.
The Project model
The Project model should now look rather familiar as you know how the field and actions blocks work as well as the @permission attributes.
model Project {
    fields {
        title Text
        owner Identity
        tasks Todo[]
    }

    actions {
        get getProject(id)
        list listProjects() {
            @where(project.owner == ctx.identity)
        }
        delete deleteProject(id)
        create createProject() with (title) {
            @permission(expression: ctx.isAuthenticated)
            @set(project.owner.id = ctx.identity.id)
        }
        update updateProject(id) with (title)
    }

    @permission(
        actions: [get, list, update, delete],
        expression: project.owner == ctx.identity
    )
}
Let's focus in on one field - tasks.
The type of this field is Todo[], which mean it's a relationship to the Todo model and there can be many todo entries linked to one project.
If we look at the Todo model we can see that the project field has the type Project? which means it's an optional link to a project.
model Todo {
    fields {
        project Project?
    }
}
These fields define both sides of a one to many relationship - one project has many todos and one todo can belong to only one project. You can read more about relationships in the Models docs.
APIs
api Web {
    models {
        Todo
        Project
    }
}
At the bottom of the schema we have the API block. This is where you define the APIs and which models they expose. In this example we're creating an API called Web and it exposes both the models we have in the schema. You can have as many APIs as you want in your schema and every API is available to use in three flavours: GraphQL, JSON-HTTP, and JSON-RPC.
In this case we want everything in our schema exposed in a single API, but you may want to split things out and have a customer facing API and an admin API with different models in each.
Keel console
Now that you have got the hang of how a Keel schema works, let's pop back to the console and see what gets built from that schema.
Click Done to close the new project flow and you'll land on your project overview.
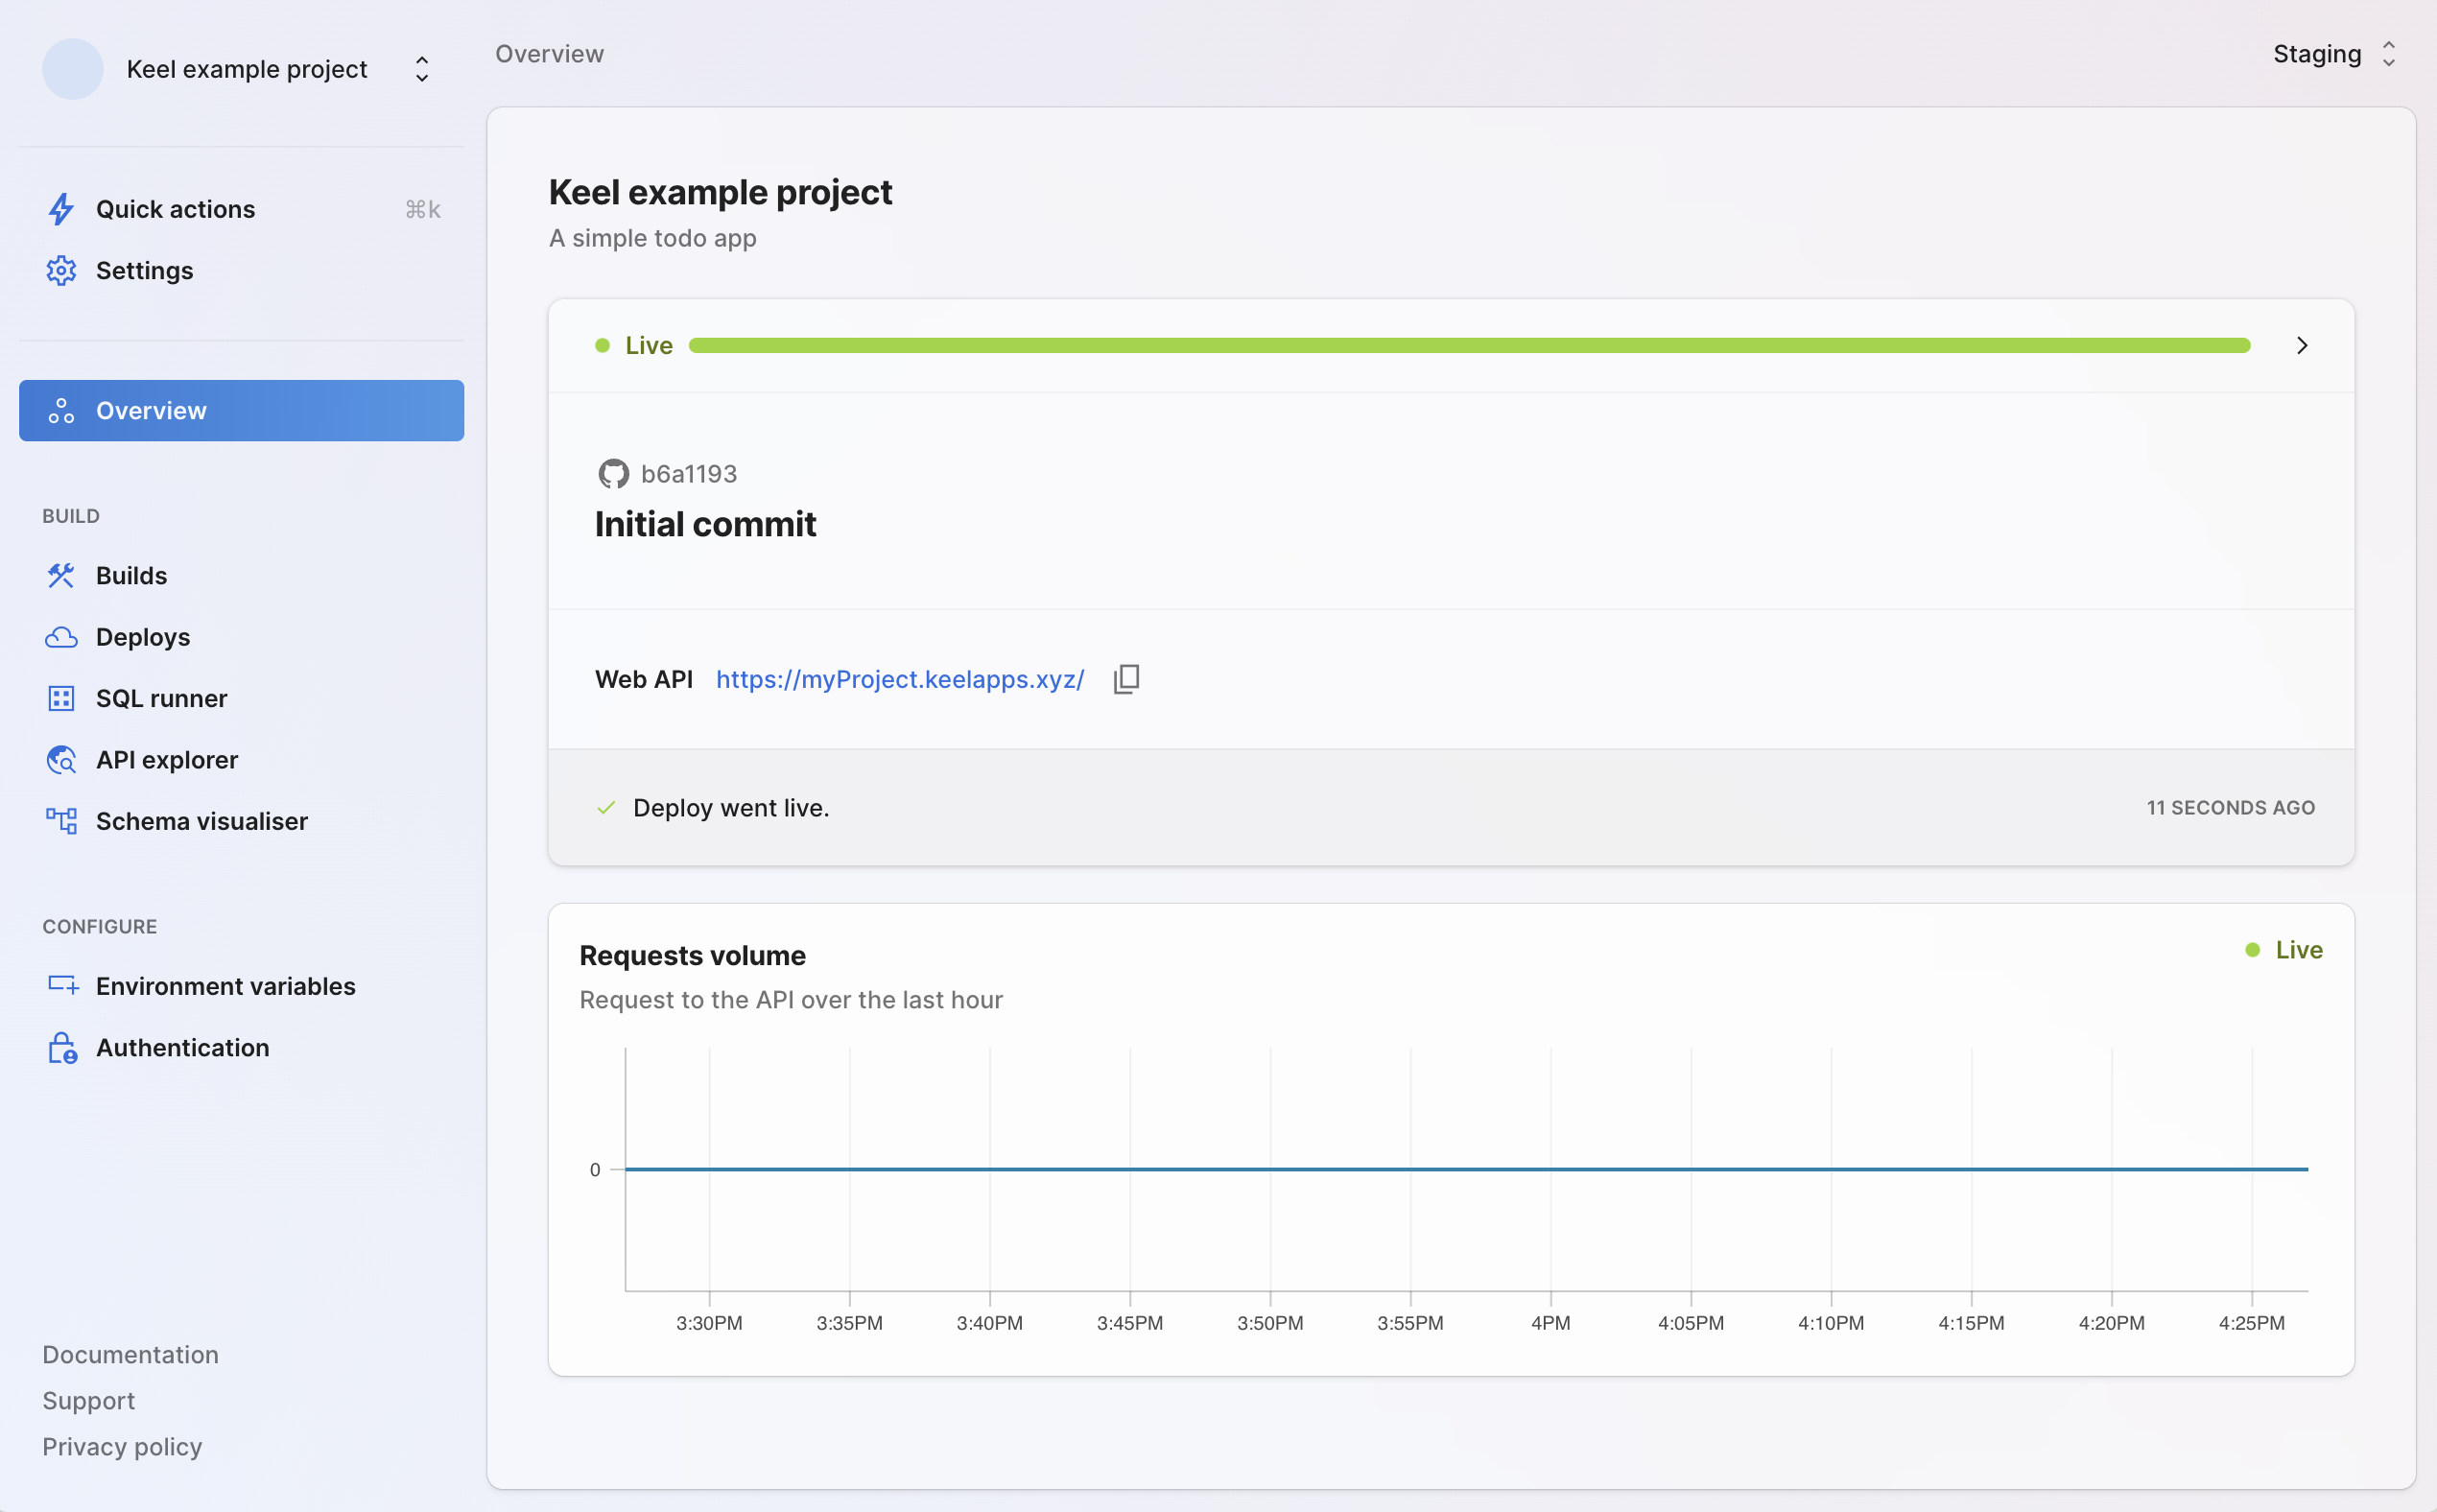
Here you'll see the details of the commit that's currently live, the urls of your deployed API(s) and a live overview of traffic to your APIs.
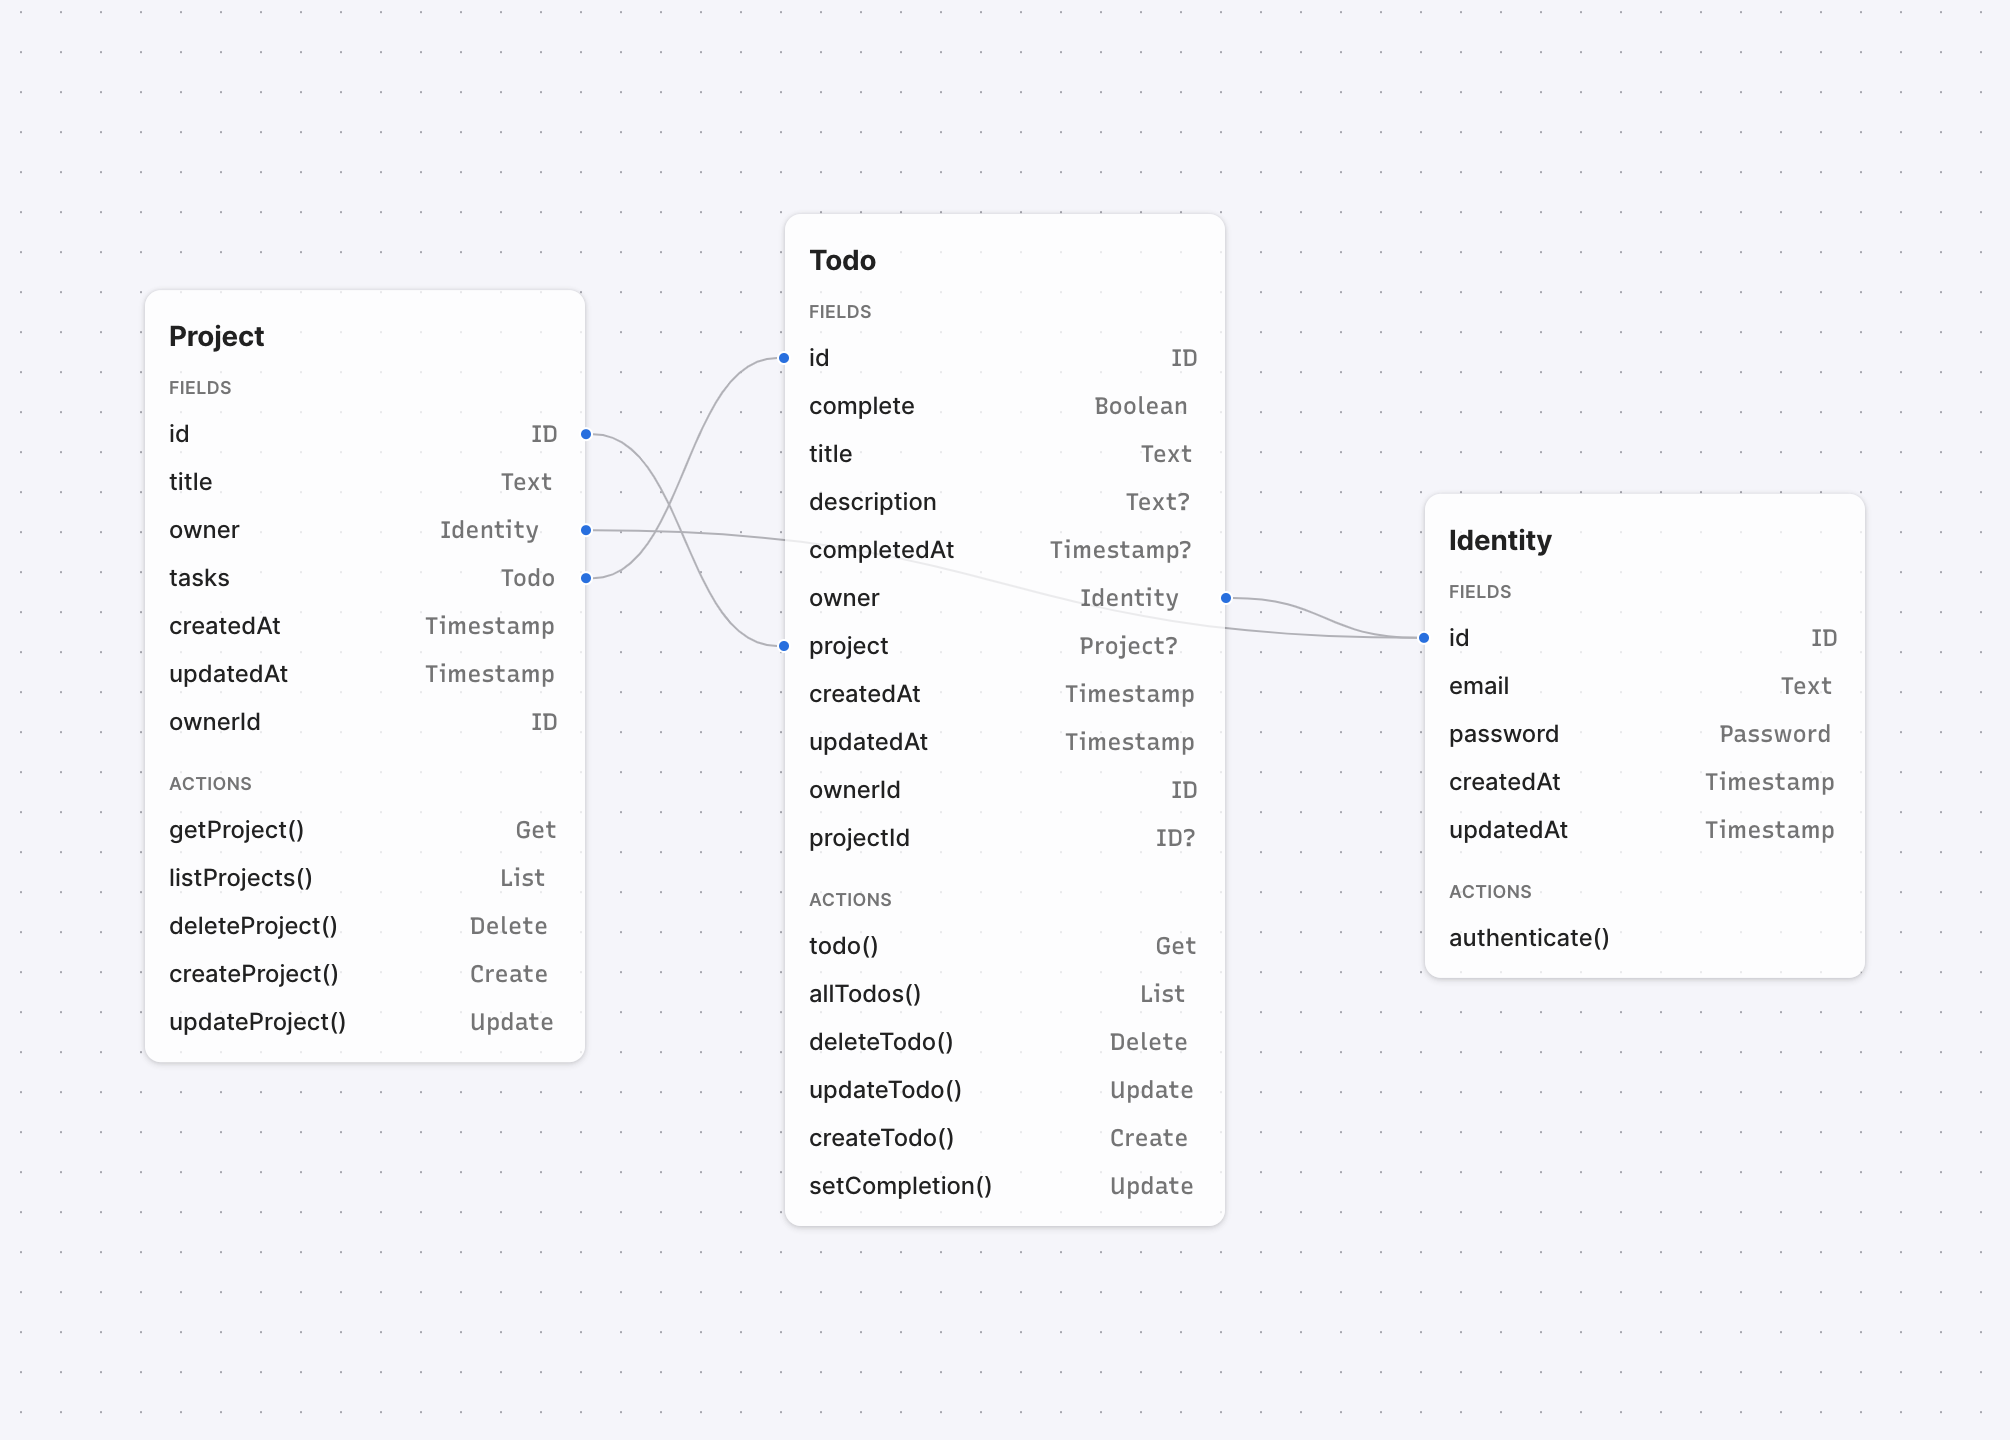
Opening up the Schema visualiser in the main navigation, you'll see a visual representation of the data model we just looked at in the schema file and how different models and fields relate to each other.
Finally head to the API explorer to see generated docs for all actions in your schema and the how to access them. We'll use these docs to hit our API later on.
Developing your Schema
Now we've gone on a whistle stop tour of the todo app schema and console, it's time to add some features. Imagine our todo app needs some basic future planning tools and a way to review the past week.
Here's a quick list of what we'll need:
- Add a due date for a todo
- Create an operation to list todos due Today
Let's take this one step at a time.
Adding a Due Date field
First, let's add an optional dueDate field. Our current Todo model was created with the following fields:
 model Todo {
    fields {
        complete Boolean @default(false)
        title Text
        description Text?
        completedAt Timestamp?
        owner Identity
        project Project?
        dueDate Date?
    }
 }
We've used Date instead of Timestamp to define the dueDate as we only want to store a date with no time component.
Updating existing actions
We want to be able to set the dueDate when we create the todo and also update it. So let's add it to the create and update actions.
By adding a ? on the end of the input we are saying that this field doesn't have to be passed in the action e.g. you can update the title of a todo without providing a dueDate value.
model Todo {
    actions {
        get todo(id)
        list allTodos(complete?, project.id?) {
            @where(todo.owner == ctx.identity)
        }
        delete deleteTodo(id)
        update updateTodo(id) with (title?, dueDate?, description?, project.id?)
        create createTodo() with (title, dueDate?, description?, project.id?) {
            @permission(expression: ctx.isAuthenticated)
            @set(todo.owner.id = ctx.identity.id)
        }
    }
}
Adding a new action
With due dates in place, we can start working on some list actions based on this field. Let's add an action that only lists todo items that are due today.
We want to return multiple entries so this is a list operation. We want the user of this action to be able to specify the due date they want to filter by so they can see what todo's are due today or this week. To do that we can add dueDate as an input.
model Todo {
    actions {
        list dueBy(dueDate)
    }
}
When we add an input like this which has the same name as a field on the model Keel understands what it's for and you don't need to do anything else. A user of this action would be able to filter on the dueDate field like this:
// POST /myApi/json/dueBy

{
  "where": {
    "dueDate": {
      "after": "2023-02-21",

	    // Or any of these
      "before": "2023-02-21",
      "equals": "2023-02-21",
      "onOrAfter": "2023-02-21",
      "onOrBefore": "2023-02-21"
    }
  }
}
Deploy your change
Commit your changes and push your main branch. This will trigger a build and a deploy to your staging environment. If you open up the Build section of the console you'll be able to see when this is complete and your changes are live.
Open up the API Explorer to see the docs for your new dueBy operation!
Testing the API
Head to the API explorer section of the console to see the docs for your API. On the right has side you'll see the requests structure for each API protocol.
Go to the Run tab to query your APIs directly the console.
If you're familiar with GraphQL you can use the built in GraphiQL playground from within the API Explorer. You can also use a REST API client to test your JSON API without the Keel console if you wish.
Authenticating
As we've added permission rules to secure the API, we'll need to first authenticate to be able to call any actions. To authenticate with an API you pass a JWT (JSON Web Token) with the request.
From within the API explorer, tap on Not Authenticated on the top right to sign up / login to your API. This makes a call to the built-in authenticate endpoint and then uses that token for all requests in the explorer.
Use your API
Now you're all set with API definitions and authenticated, you can create some todos with the createTodo action and then use your new dueBy action to list them.
Connect to a Frontend
Let's get your API connected to a frontend. Toodooey is a frontend for the example project. Let's give it a try!
Hop on over to - https://toodooey.netlify.app/ (opens in a new tab) and enter your API url. You can find the URLs for your apis on the API explorer page. This frontend uses GraphQL so use the url that ends with /{apiName}/graphql
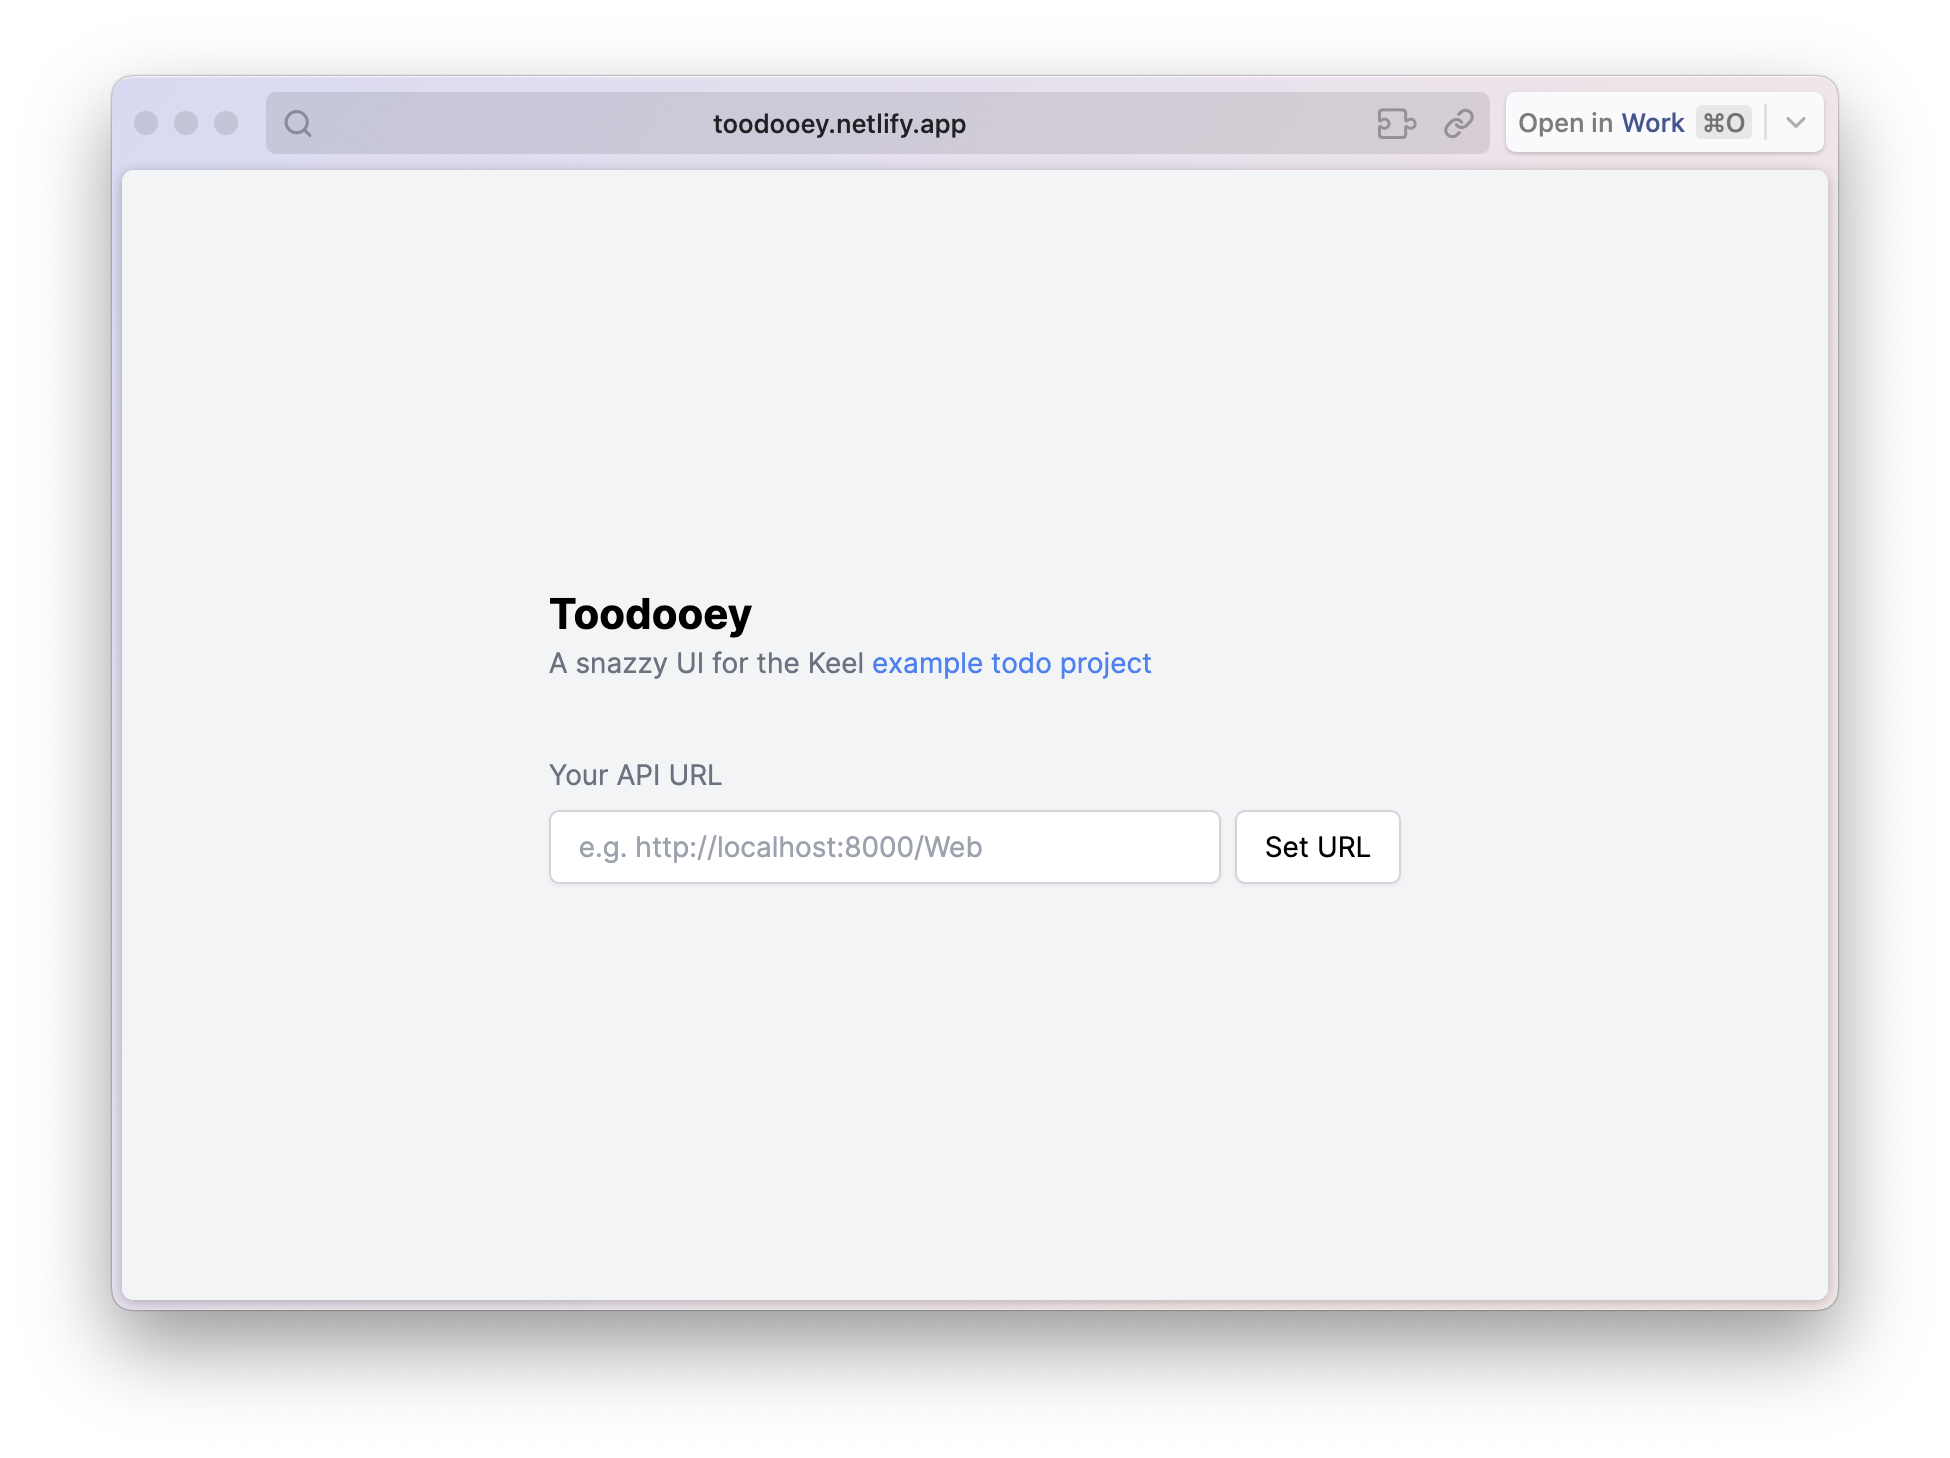
Once you've set the url you'll reach the login screen. This is a combined login/signup so enter an email and password to sign up or enter existing details to login.
Further tinkering
If you want to take the Toodooey app and make it your own here is a link to the repo - https://github.com/teamkeel/Toodooey (opens in a new tab)