Prerequisites
To follow along with this tutorial, you should have the following:
Setting up the Keel project
Let's get started.
- Create a new project on the Console (opens in a new tab) and clone the project to our machine
- Setup the VS Code extension
- Install the Keel CLI
To start, we need to create a new project on Keel by going to console.keel.so (opens in a new tab) and selecting a blank project which is the starting point for our SaaS app backend.
Project setup
After creating the project, we need to clone the repo to our local machine and installing the VS Code extension.
Cloning the repo
Once you reach the final step of the onboading you should see the git URL of your new repo. The next step is to clone the repo to your local machine and install the VS Code extension.
Copy the command directly from the final step of the project setup e.g.
git clone git@github.com/{yourUsername}/{projectName}Installing VS Code extension
The Keel VS Code extension provides sytax highlighting and inline validation of Keel schema files. You can install it by going to the Extensions tab in VSCode and searching for Keel (opens in a new tab).
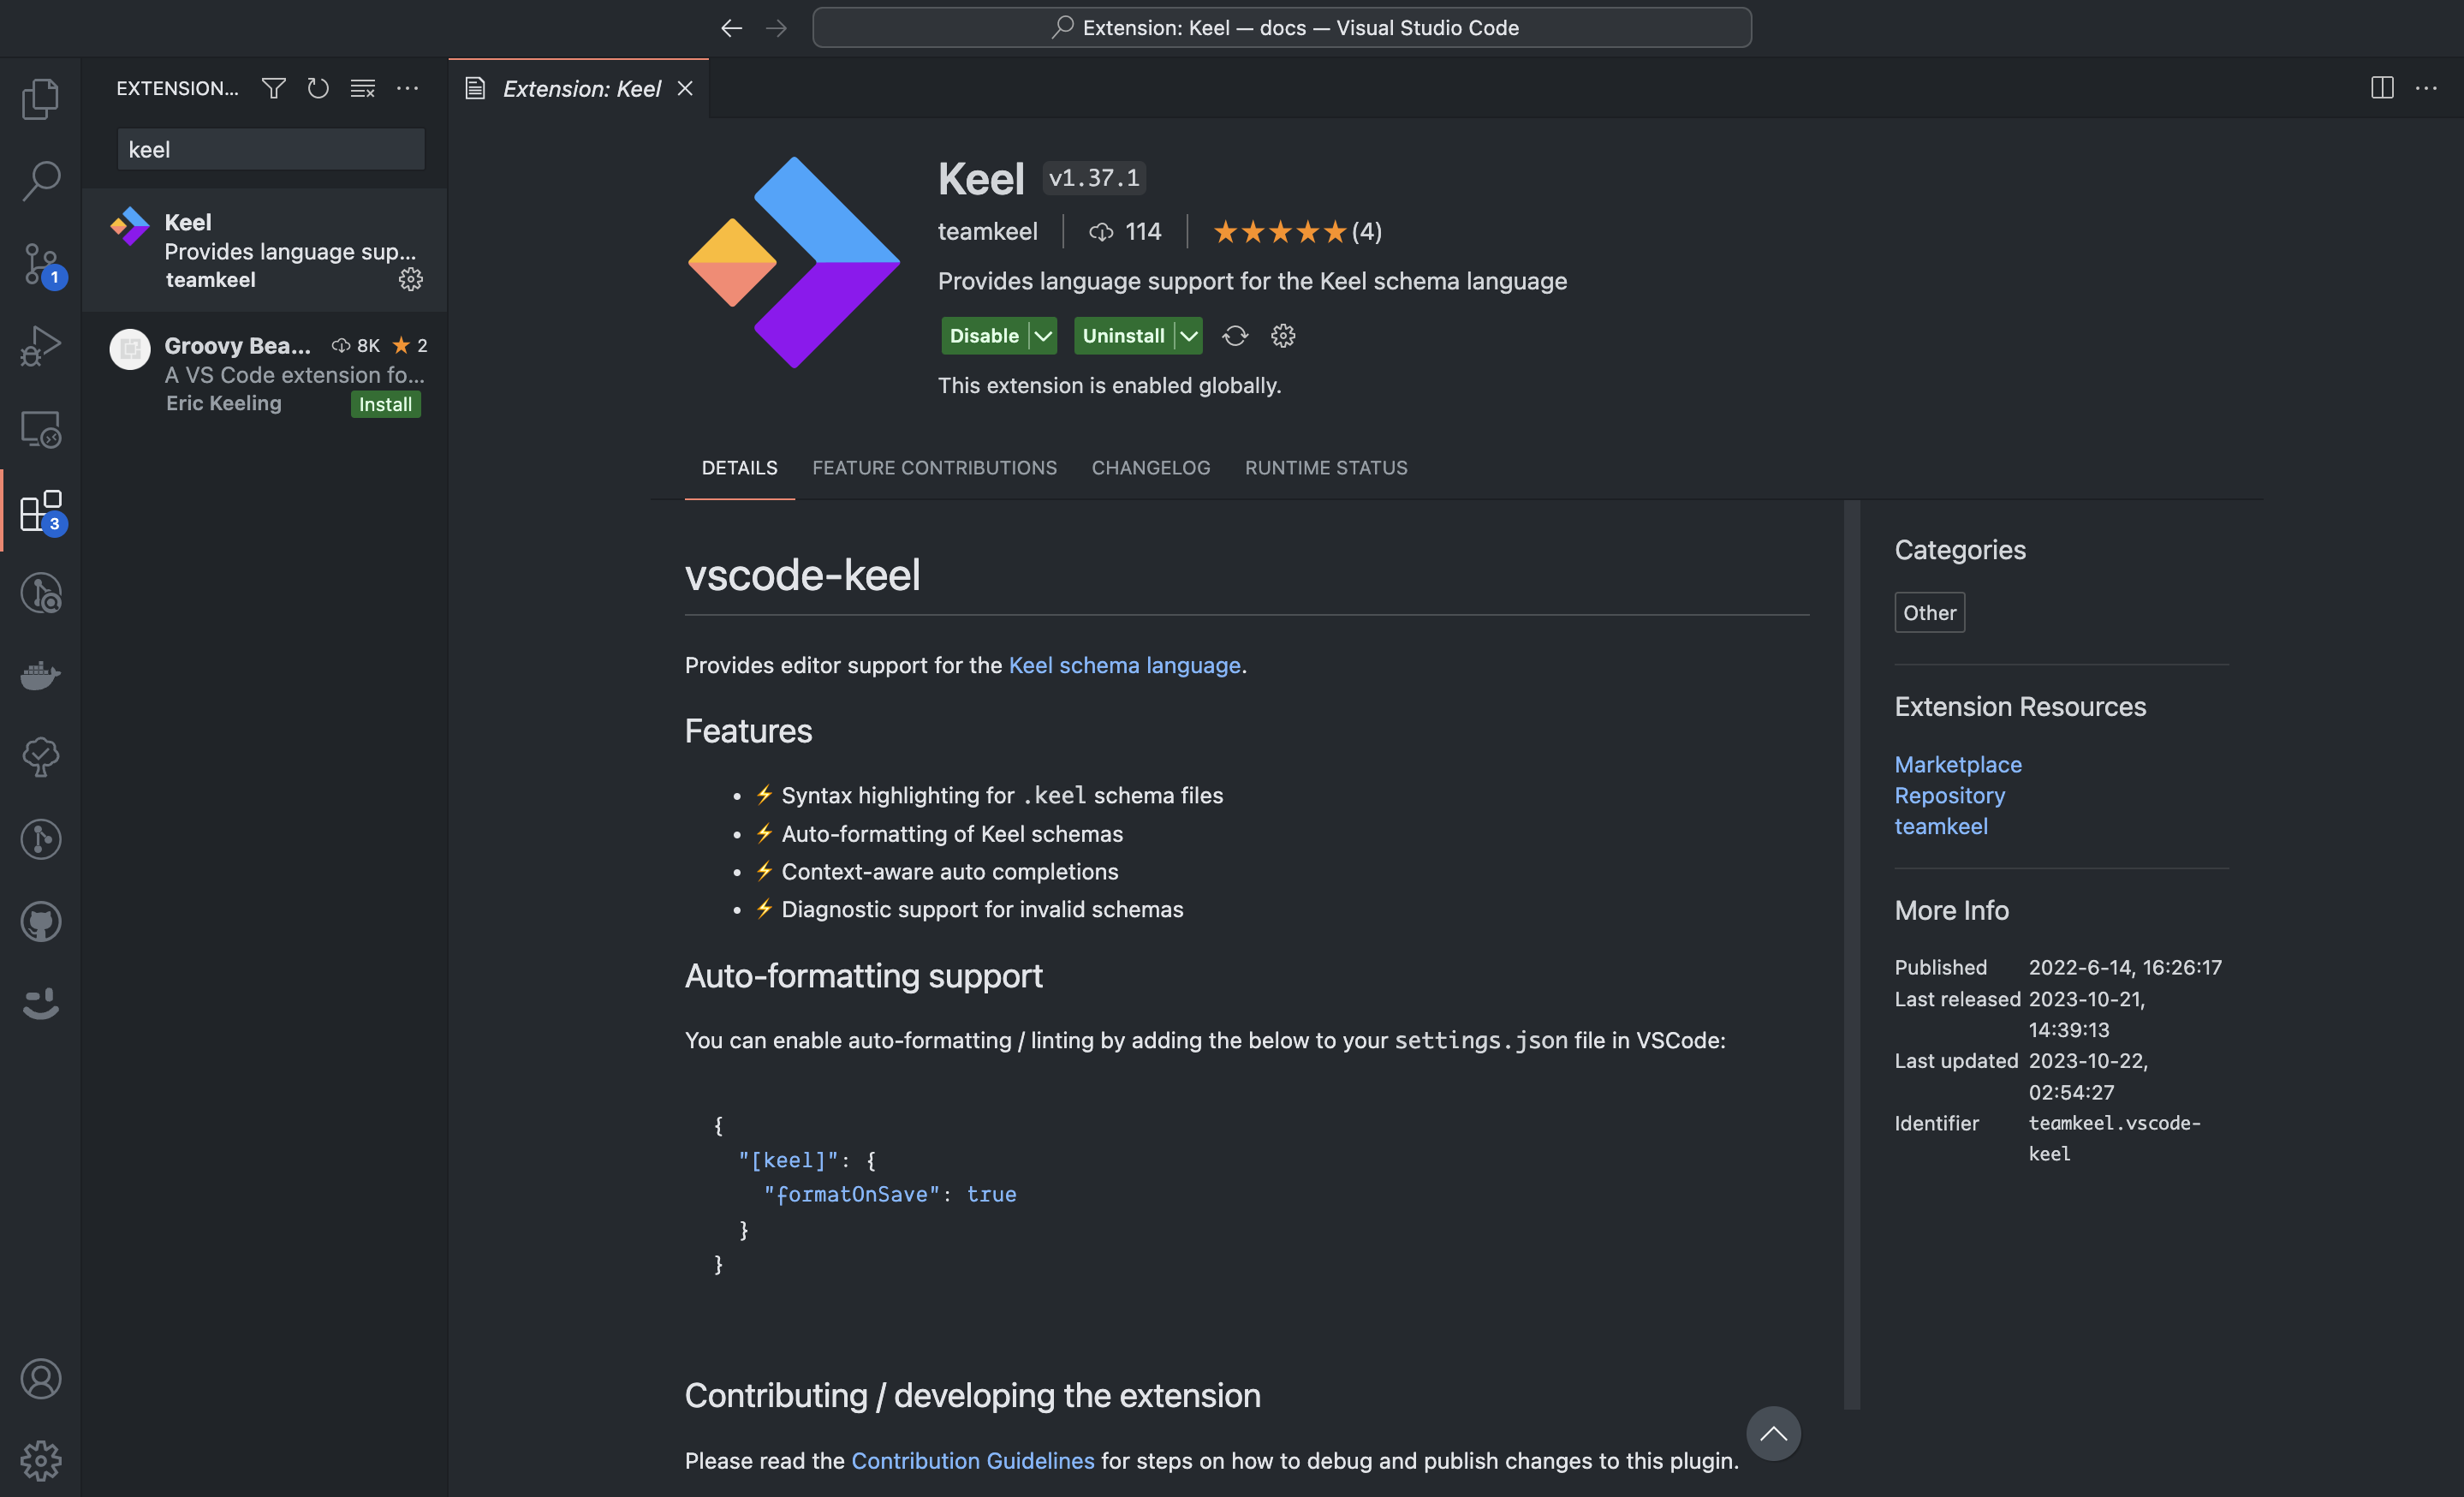
The extension only works in the app version of VS Code and not in a browser.
Installing the Keel CLI
Next up, we need to install the Keel CLI to our local machine. We can do this by running the following command:
Install the CLI globally from NPM:
npm install -g keelIf the CLI has installed correctly, the following command will respond with the current version number:
$ keel -v
v0.407.0Docker is NOT required to generate functions, so if you don't have a docker setup you can still complete the tutorial.